Saturday, March 23, 2013

Bake 52 Rewind - Week 11 Ciabatta Bread

This latest baking recipe was very interesting to me.  It was a lot of steps, over a long time but in the end it only had 3 ingredients - flour, yeast & salt! 
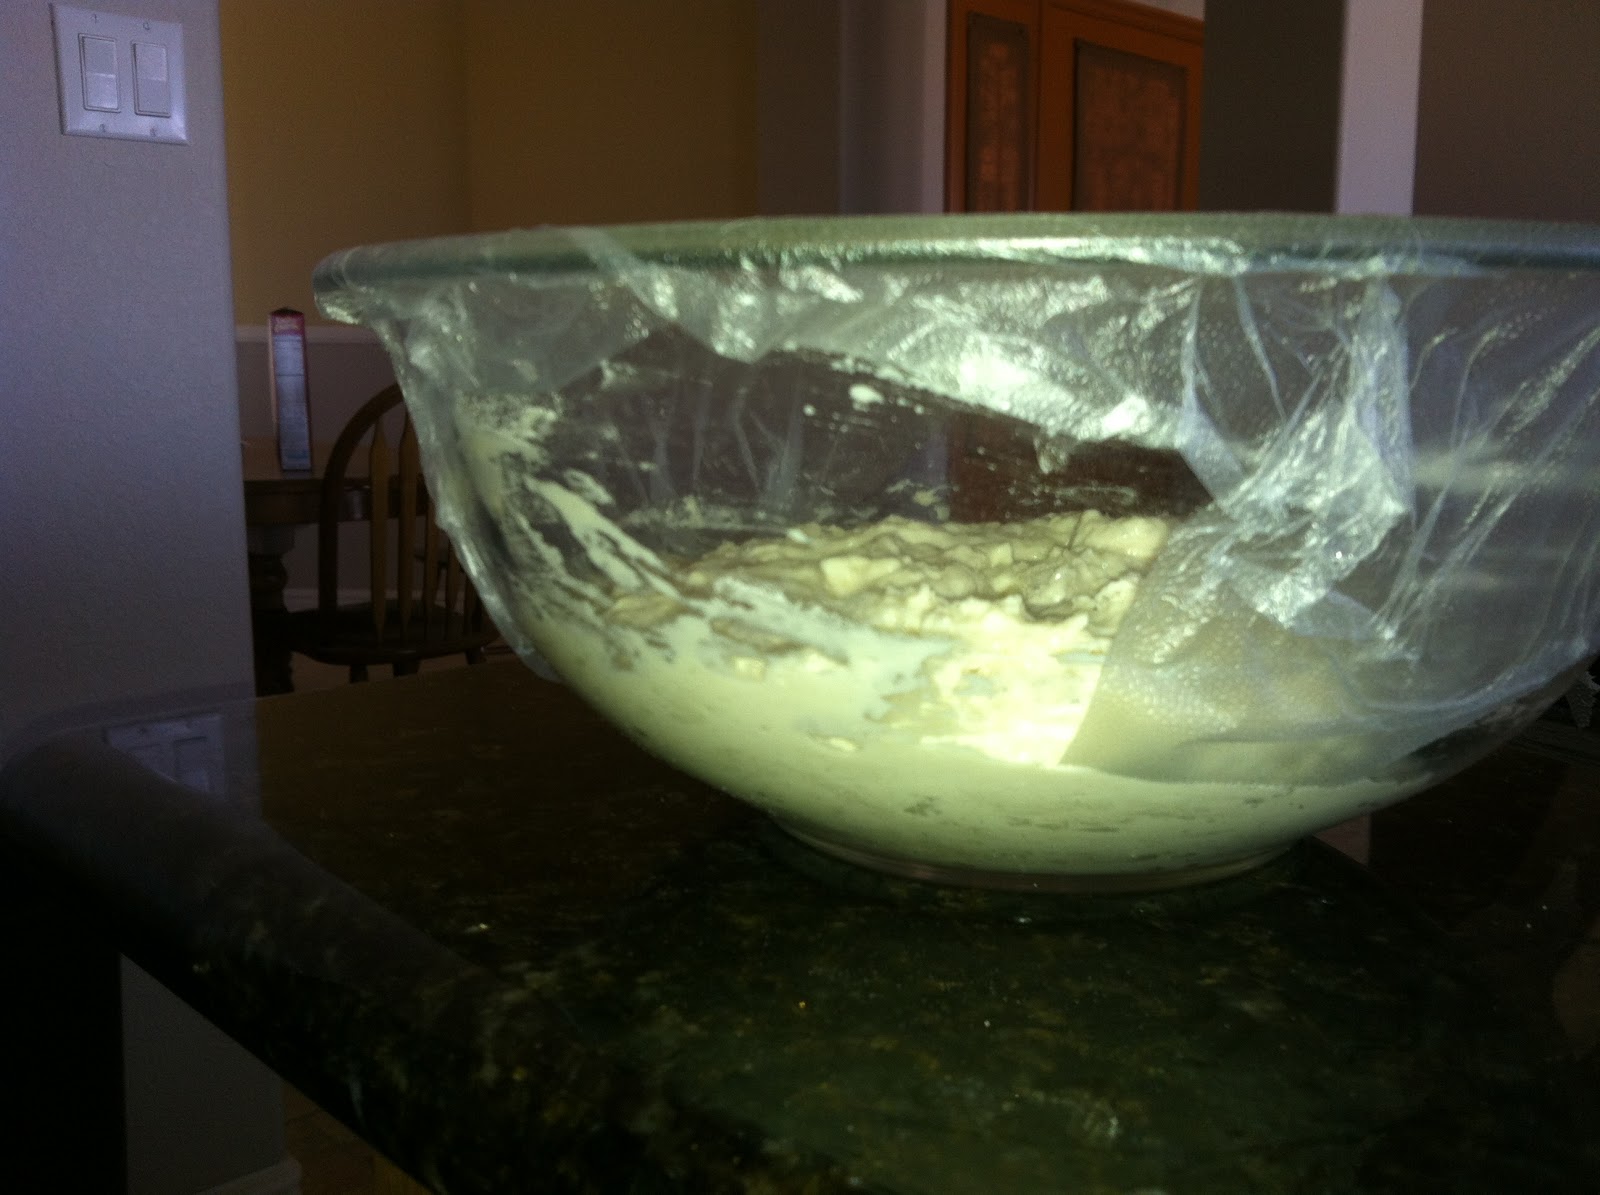
You start out by making a sponge out of flour, yeast & warm water.  I did this on Saturday because the sponge has to sit for at least 6 hours and up to 24 hours.  I mixed everything together and covered the bowl with plastic wrap and left it.
The next day I could see that it had risen.
But I was never sure if it fell.  But after about 22 hours I decided to get the rest of the bread started.

For the dough I mixed flour, yeast, warm water and salt. 

I covered the bowl and let it sit for 20 minutes.  Then I got ready to add the sponge.
 
Once I uncovered the bowl I could see that it had fallen.  It's hard to tell because the stuff on the sides still is as high as it got but the middle is lower. 
Next I mixed 3 - 5 minutes
 
 I ended up with some pretty sticky dough.  I scraped the dough into another bowl and covered the bowl with plastic wrap.

I put it in the bathroom to rise.  It's the warmest room in the house. 

After an hour I sprinkled the dough with flour and "turned" the dough.

I had not idea if I was doing this right.  I used a little scraper (that I normally wash dishes with) because my dough scraper is metal.  I just kept pulling the edges over until I incorporated the flour. 

The cookbook has very detailed instructions for how to "fold" the dough, which I didn't follow but this seemed to have worked out okay. 

The bowl was covered again and went back in the bathroom for the second rise.  It was supposed to triple in an hour.  I think it came pretty close...

Next I got the backing pans ready.  I sprinkled dough over the counter and over two inverted baking trays.  Once again the recipe had very specific instructions for shaping the dough into loaves.  I just sort of manhandled it until I felt like it was good enough.
Now it was time for the 3rd rise!  After an hour and a half it was finally ready to go in the oven. 
The recipe said to preheat a baking stone in the oven for a half hour, then move the dough onto the stone using the parchment paper.  The stone was on the rack on the lowest level of the oven.  The recipe said to bake on one side for 20 minutes, then flip and cook another 20.  For the first loaf I checked it after about 15 minutes.  It looked pretty done so I flipped it.  The bottom looked great.  After about 10 more minutes I checked it again.  It was already burnt!!  :-(
So for the second loaf I moved the rack up to the second to the bottom rack level.  I cooked the first side for only 10 minutes and then flipped it.  I cooked the second side for only 10 more minutes and it was still a bit too dark.
Bummer...  I was worried the bread wouldn't even be done on the inside. But it was.

 I tossed the first loaf, but the second one was really good.  Jonathan thought it still tasted burnt.  It didn't to me.  Other than the first piece I've eaten the whole second loaf.  I keep just having bread for dinner!  :-) 

While this recipe seemed long, it wasn't particularly difficult difficult, you just ended up tied to the house for 48 hours.  If you like bread I would recommend you try this.  Just don't put your oven rack on the very bottom position, and check on it after 10 minutes.  :-)
Find the complete recipe here.

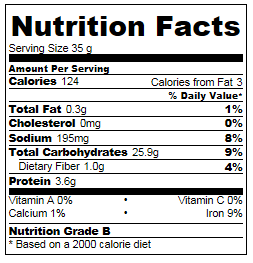
I did the calories based on 12 pieces per loaf.

Thursday, March 21, 2013

Reese's Minis Peanut Butter Bars

So it wasn't until after I made these that I realized these are the second peanut butter bars I made in one weekend.  I must have a real peanut butter fetish this spring...

This recipe starts with peanut butter, butter and sugar - good start!


Next I added in the eggs, salt and vanilla
I used 1/3 a teaspoon of salt for the 1/4 teaspoon plus a big pinch. 
I have this set of measuring spoons that has everything from 2 tablespoons down to 1/8 teaspoon.  I love it!

Next step flour - just enough to stiffen up the dough.

Next the goodies...

I was sure I had peanuts.  We buy big containers of them from Costco for Jonathan to snack on and I had just seen a container.  But when I went to get them I couldn't find them anywhere!  Jonathan must have taken them with him on his trip to Utah for snacking.  So I used peanut butter chips instead.  Three kinds of chips - white chocolate, dark chocolate and peanut butter!

I mixed that all by hand and then pressed the dough into a 13x9" pan.


In to the oven... 

My grocery store was all out of mini Reese's peanut butter cups, of all the luck!  So I bought Reese's miniature peanut butter cups.  So unwrapped a bunch (probably a dozen or so) quartered them so I got a cup. 


As soon as the bars came out of the oven I spread the quartered Reese's miniatures across the top and then added the Reese's Pieces.

 
Of the two peanut butter recipes I made I think it I like this one best.  This latest one is a lot like a peanut butter blondie.  Also, if I made it again I think I'd put the Reese's pieces on for the last few minutes of baking, so that they melted a little and stuck to the top.  The miniatures melted just a bit and stuck nicely.  But the pieces just fall off as soon as you pick up a piece. 
 
If you cut the bars into 31 pieces the calories aren't too bad...


Tuesday, March 19, 2013

Red Velvet Gooey Butter Cookies

I had to make a snack to take to Relief Society this week.  I was looking through all the recipes for treats I've saved to make and this recipe caught my eye.  It's just pretty...

It's a pretty simple recipe since you use a cake mix.  It starts with 8 oz of cream cheese and a cube of butter.  This is not a low fat recipe...

 
I whipped those until they were smooth and fully blended.

Then I beat in the egg and vanilla.  And then I added the cake mix, red velvet.

 
I love how RED the dough is.  The white chocolate chips really stand out. 

This was a really, really sticky, thick dough.  I didn't really like the flavor of the raw dough.  Too much tartness from the cream cheese. 

I ended up with 30 cookies from the dough.
I cooked both trays at once, rotating them half way through.  I only cooked them for about 11 minutes.
The final cookie was pretty good.  I couldn't taste the cream cheese at all... I don't know if that is a good thing or a bad thing.  The cookies are more cake-like and chewy, which I should have expected given the ingredients.  Either way I ended up with a very pretty dessert!

Sunday, March 17, 2013

Quinoa Breakfast Skillet

I can't remember where I got this recipe...So I'll type it up at the end.  I decided I'd put the bacon in this recipe. I keep my bacon frozen. 

I had 12 slices and needed 8 so I just cut off 3/4 of the slab.  Then I just sliced the rest up and dumped it in a pan.
As the bacon heats up and cooks it all starts to fall apart and cooks up really nicely.
While the bacon cooked I started prepping the veggies.

Sweet potato
Red Pepper
Green Pepper
Red Onion & garlic
And mushrooms

Unfortunately, I got too distracted and ended up buring the bacon!
I picked out the worst of the burnt and used the rest.  I should have just pulled it off when it was close but I was trying to get it perfectly crisp but it went from under cooked to burnt in minutes!

I loaded up all the veggies I'd used to cook the bacon and stirred them well to coat them in the bacon grease. 
As you can see my pan is a bit small for all the ingredients, but I thought it wouldn't be a problem.  Until I realized I had to add two cups of broth with the quinoa to cook it with the rest of the veggies. 

Once the veggies were all cooked I switched it into a bigger skillet.

I've made dishes with quinoa before but I've never bothered to rinse the quinoa. Initially it was because the recipe didn't tell me to and I didn't know any better. In later recipes when I saw that it required rinsing I figured it was just an unnecessary step. But this time I decided to follow the directions to rinse the quinoa. I'll always rinse it before cooking it in the future. When I didn't rinse it the flavor was okay. There was something that was a little off but it was still edible. Well, when you take the time to rinse it the flavor is very mild, nothing off, that would interfere with the over all flavor of the dish. So if you decide to make anything with quinoa make sure you rinse it first!
After the veggies were cooked I added in the quinoa and toasted it for a minute.

Then I added in the broth and let that all cook for 15 minutes, until the quinoa was done.
I decided to cook my eggs over soft.  Since I was making this ahead for breakfast for the rest of the week I divided the veggies and quinoa out into 8 dishes and topped them all with one fried egg and a what little of the bacon that wasn't burnt.
I'm really enjoying this dish for breakfast.  The egg and bacon give it a bit of a breakfast flair but the quinoa and veggies make for a very well rounded dish with a lot of filling protein and fiber. 
The recipe:

8 slices thick-cut bacon, chopped
2 small sweet potatoes, chopped
1 red onion, chopped
1 red pepper
1 green pepper
12 oz sliced mushrooms
4 garlic cloves, minced
1 cup uncooked quinoa, rinsed
2 cup chicken broth
8 eggs, cooked your desired way
salt and pepper to taste

Heat a large skillet over medium heat and add bacon.  Cook until fat is rendered and bacon is crispy, then remove bacon with a slotted spoon and place on a paper towel to drain.  Reduce heat to medium-low and add sweet potato, onion, pepper, mushrooms and garlic to skillet, tossing to coat.  Cover and cook 5 - 6 minutes, stirring once or twice, until soft.

Add uncooked quinoa to vegetables and stir for 1 -2 minutes, allowing it to lightly toast.  Pour in stock or water and bring the mixture to a boil.  Immediately reduce to a simmer, cover and cook for 15-ish minutes until quinoa is cooked through.  While quinoa is cooking, prepare eggs as you desire.  Once cooked, tast and season to your liking.  Serve quinoa in bowls topped with eggs and cooked eggs.

Friday, March 15, 2013

Peanut Butter Bars

I was a single lady this last weekend so I found myself making quite a few sweets.  It wasn't until the weekend was over that I realized I had made two versions of peanut butter bars.  I made this first and I think this is my favorite of the two, but check back in a few days and you can see for yourself. 

 The first step is to line an 8x8" pan with parchment paper.  I did this but now that I've made it I don't think it was really necessary.  The bars came out easily and I mostly just tore the paper.

For the crust I used a row (tube) of Oreo's.  I couldn't find chocolate wafer cookies, like Nabisco Famous chocolate cookies.  I figured the cream filling would just add to the flavor.  I crushed the Oreo's in a ziploc with my rolling pin, measureed them out.  Then I softened the butter and measured out the sugar.
That was the crust - crushed Oreo's, butter and a bit of sugar.  It seemed a bit excessive to add sugar to Oreo's but...  I'm nothing if not obedient.  :-)
I pressed the crumbs out to form a crust.
In to the oven for 15 minutes.  I really don't know what baking Oreo's and butter does but again... obedienence.  :-)

While the crust baked I got started on the peanut butter layer. I melted the butter and then used my shifted the powder sugar in on top to minimize lumps.

After the sugar was all melted/blended with the butter I added in the peanut butter and whipped it up.
Last step for the peanut butter layer, graham cracker crumbs...
After I mixed these in I had a taste (have to taste each step right?) and I didn't like the crunch of the graham crackers.  But when I had the finished product... there wasn't any crunch in the peanut butter layer.  I'm guessing the butter/peanut butter softened the crumbs until they weren't discernible in the overall mix. 

I spooned the peanut butter out to try and minimize spreading...
Then I evened out the peanut butter and set it aside.

Time for chocolate! The recipe called for 60% bittersweet chocolate.  But I've been disappointed when I've used bittersweet chocolate in the past so I just went with good old semi-sweet chocolate chips. 


The recipe calls for using a double boiler to melt the butter and chocolate.  I just used the microwave.

Then I spread it on top of the peanut butter.

All done!
I stuck it in the fridge for a while to set up before I helped myself to a piece.


Don't those layers look yummy!
I've had recipes like this in the past but the crust has always been a gragham cracker crust and I don't like it very well with the peanut butter.  I've looked for a recipe with no crust but haven't found one.  But this one with a chocolate/Oreo crust - that's really good!
 
This is pretty calorie dense...  If you cut your 8x8" pan into 16 pieces, they are still 300+ calories per piece, so tread carefully! 

After I had my one piece I packaged the rest up to take to a Relief Society activity, can't keep something like that in my house!

Wednesday, March 13, 2013

Penne with Chicken, Asparagus & Lemon


 This time for our dinner group we did a chicken and past dish.  All my pictures (except the last one) ended up blurry!  Maybe I should try taking pictures with something other than my phone...

I had some chicken that had been in the frig for a while.  I couldn't remember how long, but it looked good, so I decided I'd just cook it up.  But while I was cooking it up I was getting a very strong vinegar smell.  I cooked it all the way through and tasted a tiny piece.  It tasted a little off.  That with the vinegar smell had me throwing it out.  Luckily Jonathan had some pre-cooked chicken in the frig that needed to be used up.  So I just stole all his chicken.  :-)  He's out of town so I have a few days to get that replaced...

I cooked up the leek, then I stirred in the garlic and thyme (I used dried).  I added in the flour and cooked for one minute.  Then I added in the 3 cups chicken broth (I substituted broth for the wine).  I let it cook for 15 minutes but it never did thicken up. 

After 15 minutes I took it off the heat,added the pre-cooked chicken that I stole from Jonathan and then added in the lemon and parmesan cheese.  It smelled really yummy and fresh!

I cooked the asparagus for just 2 minutes.  I had really thin asparagus so I didn't want to overcook it.  I forgot to cut the asparagus until after I had cooked it.  Once the pasta, and asparagus were done I dumped, both of them and the chicken mix into the big pot I'd cooked the pasta it. 

The final step was to top it with fresh basil.  I had been lucky enough to find a big bunch of fresh basil at the grocery store!  That's never happened before - usually if I want fresh I have to spend $3 bucks for 4 or 5 leaves.  It smelled so yummy.  I love fresh basil. 


This is the only picture that turned out.  I thought about including the other blurry ones, but they actually made me a little sick to look at, so...
 
 
This recipe was a bit of work, several steps but the end flavor it so yummy, fresh lemon, fresh basil and tender, crisp asparagus.  It's a wonderful spring dish.  If you want the full recipe, check out Valerie's blog.