Wednesday, September 26, 2012

Bake 52 Week 39: Spiced Pumpkin Bread

I spent the weekend in Vegas and just got home on Sunday.  It's hard for me to cook during the week because of work so I tried to get this dish made before the end of the day Sunday.  For a variety of reasons I didn't get started until about 6:30 PM.  I had to be in bed by 8:00 so I was really pushing it...

Luckily it was a quick recipe - pumpkin bread.  Just the typical mix the wet ingredients together, mix the dry ingredients together and then combine.  I love the bright orange of the pumpkin puree!

I left out the ginger because I don't like it.  The recipe called for a cup of nuts and a cup of dried cranberries (optional).  But this is pumpkin bread!  You don't want nuts and fruit you need chocolate!!
So I put in two cups of chocolate chips and dumped it all my loaf pan. 
I forgot I meant to make this as muffins and should have...  They would have been done before I had to go to bed.  Instead after 55 minutes I just had a pan overflowing and charred pumpkin bread dough all over the bottom of my oven. 

I put a cookie sheet under the pan and left it cooking.  Jonathan pulled it out of the oven for me after about an hour and a half of cooking time. 

The close side of the loaf is what overflowed and ended up on the floor of the oven. 

I had a huge piece for breakfast on Monday.  It was moist and delicious!  But next time - muffins... That's the way to go!  Check out Talesha's blog for the full recipe. 


...

Wednesday, September 19, 2012

Caramel Brownies

I almost forgot to blog about these brownies.  I made them a few weekends ago.  I had couple (or more!) the day I made them, wasn't real impressed (not that I stopped eat them - it was chocolate after all!) and then stuck the rest in the freezer.  They stayed in the freezer for a while because I had a couple of buckets of treats to get rid of at work and didn't want to overwhelm my audience. 

I found them on Sunday and ate one right out of the freezer (again who can resist chocolate!).  To my surprise it was super, super yummy!  So I dug out my pictures so I could post about them. 

The recipe, which I got from Annies-eats.com calls for bittersweet chocolate.  I had bought this Ghirardelli chocolate for something else (my tunnel of fudge cake) and promptly forgot what I bought it for. 
So when I was looking at all my saved recipes for one to try that weekend I figured this would be a great way to use up this "Intense Dark" Chocolate.  It turns out it was a good mistake.  This brownie recipe is super rich and sweet.  I think you need the more bitter chocolate in this recipe where I think it wouldn't have been as good in my cake. 

The brownie batter is really simple (melted butter & chocolate, sugar, eggs, vanilla, flour & salt) but it seems like it has a lot more butter than it needs.  After I had mixed the whole thing up it was still really shiny and actually had some free standing liquid.  


I dumped out half of the batter
(That looks like half right?) into a foil lined 13x9" pan and baked it for 20 minutes. 

While it cooled for 20 minutes I made the caramel.  I used these wonderful Caramel bits - no unwrapping!!  I love them and they melt so smooth. 
Once the caramel was all melted...
I dumped it over the bottom layer of brownie.

Then comes the tricky part...  Getting the rest of the batter to cover the caramel.  I actually did really well at spreading the batter across the top by spooning it out over the caramel,  see picture below.

So it just took a little nudging of the thicker sections to get full coverage.  I was glad I took the time to distributed it pretty evenly from the start because the brownie batter is thick and didn't spread very evenly.  

Last step... Top the whole thing with chocolate chips.  

Twenty minutes later...

I let them cool for awhile on the counter and then tried to cut myself a piece...
It didn't work very well as you can see above.  So waited until the next day to cut anymore pieces.  Now at least it stayed in a square.  But you can see the caramel is still oozing.  Like I said they were okay warm - and maybe if I was a bigger caramel fan I would have really liked them with the loose caramel.  

But to me the firm/frozen caramel was much better and gave a nice chewy contrast to the soft, rich brownie.  If you make these try them room temperature and frozen and let me know which you like better!

Bake 52 Week 38 - Make Ahead French Toast Casserole

I was baking ahead and made this the same weekend I made the deep dish pizza.  So I don't have many pictures of this either...

It was super easy but a bit confusing.  I cut this recipe in half too.  I didn't need a full 9x13" pan of bread soaked in half-and-half and whole milk! 

It was also very easy.  First step - toast the bread.  I cut half of the french bread loaf into 1" pieces and put them in the oven at 325 for 25 minutes.  I was worried that they would burn so I checked on them pretty regularly but they turned out beautifully toasted brown.  I used this new found knowledge to toast my bread for my garlic cheese bread later in the week.  Since it was pre-toasted it was nice and crunchy even after adding garlic butter and cheese. 

Then I arranged the toasted bread in a 8x8" pan and dumped the mixture of cream, whole milk, eggs, vanilla, cinnamon and nutmeg.  Once it was covered with plastic wrap I put it in the frig overnight.  There was quite a bit of liquid left in the bottom of the pan when it went into the frig.  But when I pulled it out, the liquid had nearly all be absorbed by the bread!  What a surprise...

I made a paste of butter, brown sugar and corn syrup and spread it on the bread.  I finally remembered pictures...
The bread wasn't all even.  Some of the end pieces were smaller on top so I spread the paste on the lower bread as well.  The bread had puffed up so that it was right to the top of the dish.  I was glad they recommended putting  another pan underneath because it did end up bubbling over a bit. 

After an hour in the over it was done and very, very hot!! 


In the picture above you can see the different size bread pieces.  It is a very sweet dish.  The top was carmalized almost like caramel popcorn.  The rest of the bread tasted like a very soft cooked scrambled egg.  Jonathan likes all the moisture cooked out of his scrambled eggs so he didn't like it. 

I probably won't be making this again just because it's way too much food for one person and the leftovers are only so-so once they are re-heated.  But it was a nice treat! 

Check out Valerie's blog for the full recipe. 


Wednesday, September 12, 2012

Bake 52 Week 37 - Deep Dish Pizza

Jonathan loved this pizza, said it was the best he ever had.  It is really simple to make too.  It takes a little time to make with the rising and what not, so probably not something I can whip up after work.  But given how much Jonathan liked this I'm certainly going to be making it again. 

I halved the recipe, since it's just me and Jonathan.  But it was so good we ate the whole 9" pizza!  I left the pepperoni off too since Jonathan and I aren't real fond of that. 

The dough can be made ahead and refrigerated for up to 16 hours or frozen for up to one month.  If you put it in the frig you need to let it sit for 30 minutes before using it.  For frozen you have to let it thaw on the counter for 2 - 3 hours or overnight in the frig. 

The recipe directs you to roll the dough out to a 7" round and then use your hands/fists to stretch it to 9" with a thicker edge.  I had a bit of trouble with that... I ended up with a really thin spot in the middle and it wasn't quite 9" so when I tried to push it into the edges of the 9" cake pan quite a bit of the olive oil came over the top of the dough.  For all of that it worked just fine.  But next time I would roll it out to 9-1/2" or 10" and then use the extra to make the thicker edge. 

Once sort of as big as the pan I set it aside to raise.  It didn't look all that different to me (I forgot to take pictures for all of this) but I moved on with the recipe. 

I had made the pizza sauce that they suggest in the book - crushed tomatoes, olive oil and garlic.  I ended up using garlic powder because I forgot to buy any garlic.  But it worked out well and thickened up really well after simmering and stirring for 15 minutes.  It makes a ton of sauce and supposedly only lasts for 4 days in the frig.  I made garlic cheese bread with the left over french bread (from the next recipe) later in the weekend and used the left over pizza sauce as dipping sauce - that was really tasty too!

Anyway, back to the pizza...  After spreading 2/3 of a cup of sauce on the pizza and topping it with about 3 handfuls of mozzerella cheese I tossed it in the oven for 20 minutes. 

When it was done it looked beautiful!
The crust was crunchy and flavorful and super yummy!  I thought there was more sauce than necessary so it was a bit messy but Jonathan thought it was perfect. 


You really have to try this!  Check out Amanda's blog for the whole recipe. 


...

Wednesday, September 5, 2012

Bake 52 Week 36 Tunnel of Fudge Cake


It is my week to host.  This recipe reminded me of the first time I had a Molten Cake.  It was years ago.  Jonathan and I were spluring on dinner and had gone out to Jasoh's.  Jonathan knew the owner through his dad.  This was just after they had opened and we decided to go all out and order dessert.  I don't remember what all was on the menu but one of the items was molten chocolate cake.  With the discription I couldn't resist.  Well, I have never had something that was as good as that cake.  This came close but not quite right.  The cake at Jasoh's had a center that was liquid, warm and tasted just like (or even better) than raw brownie mix (come on!  I'm not the only one that licks the bowl, am I?) and it had a delicate crust that was crisp but not dry.  The texture of it complimented wonderfully with the molten center. 


When I saw this recipe in the cookbook I knew I wanted to make it.  It didn't look like it was the same idea as the molten cake but I was intrigued by the tunnel of fudge since you didn't put in pudding or something.  It just comes out that way after baking...

If you've read the other postings on this blog you know I've been baking a bit this weekend.  Well last night I thought I'd make one last recipe before the weekend ended.  I'll post about it later.  But unfortunately I didn't think to check this recipe, which I had already planned to make first thing Monday morning, and make sure I didn't use up the ingredients I needed.  I used up all the bittersweet chocolate I had, so I used semi-sweet everywhere the recipe called for bittersweet. 


I also was a bit short of dutch processed chocolate but that's not because I made a different dish.  I just didn't realize I was running out...

The first step was to make a paste of butter and cocoa to "grease" the bundt pan. 


That was quick and easy.  I have a silicon brush that I use for things like this.  It worked but since it's designed to "soak" up grease I'm not sure it will ever be clean again...


Before I got too far into the recipe I checked to see what had to be prepped in terms of the ingredients.  There wasn't anything complex and the only time consuming thing was chopping the pecans.  So I got those ready first.


Did anyone else make a huge mess chopping their pecans?  I had nuts going everywhere.  A bunch ended up on the floor, so I was probably a little short...

The first step is to melt 2 oz of bittersweet chocolate with a half cup of boiling water. 


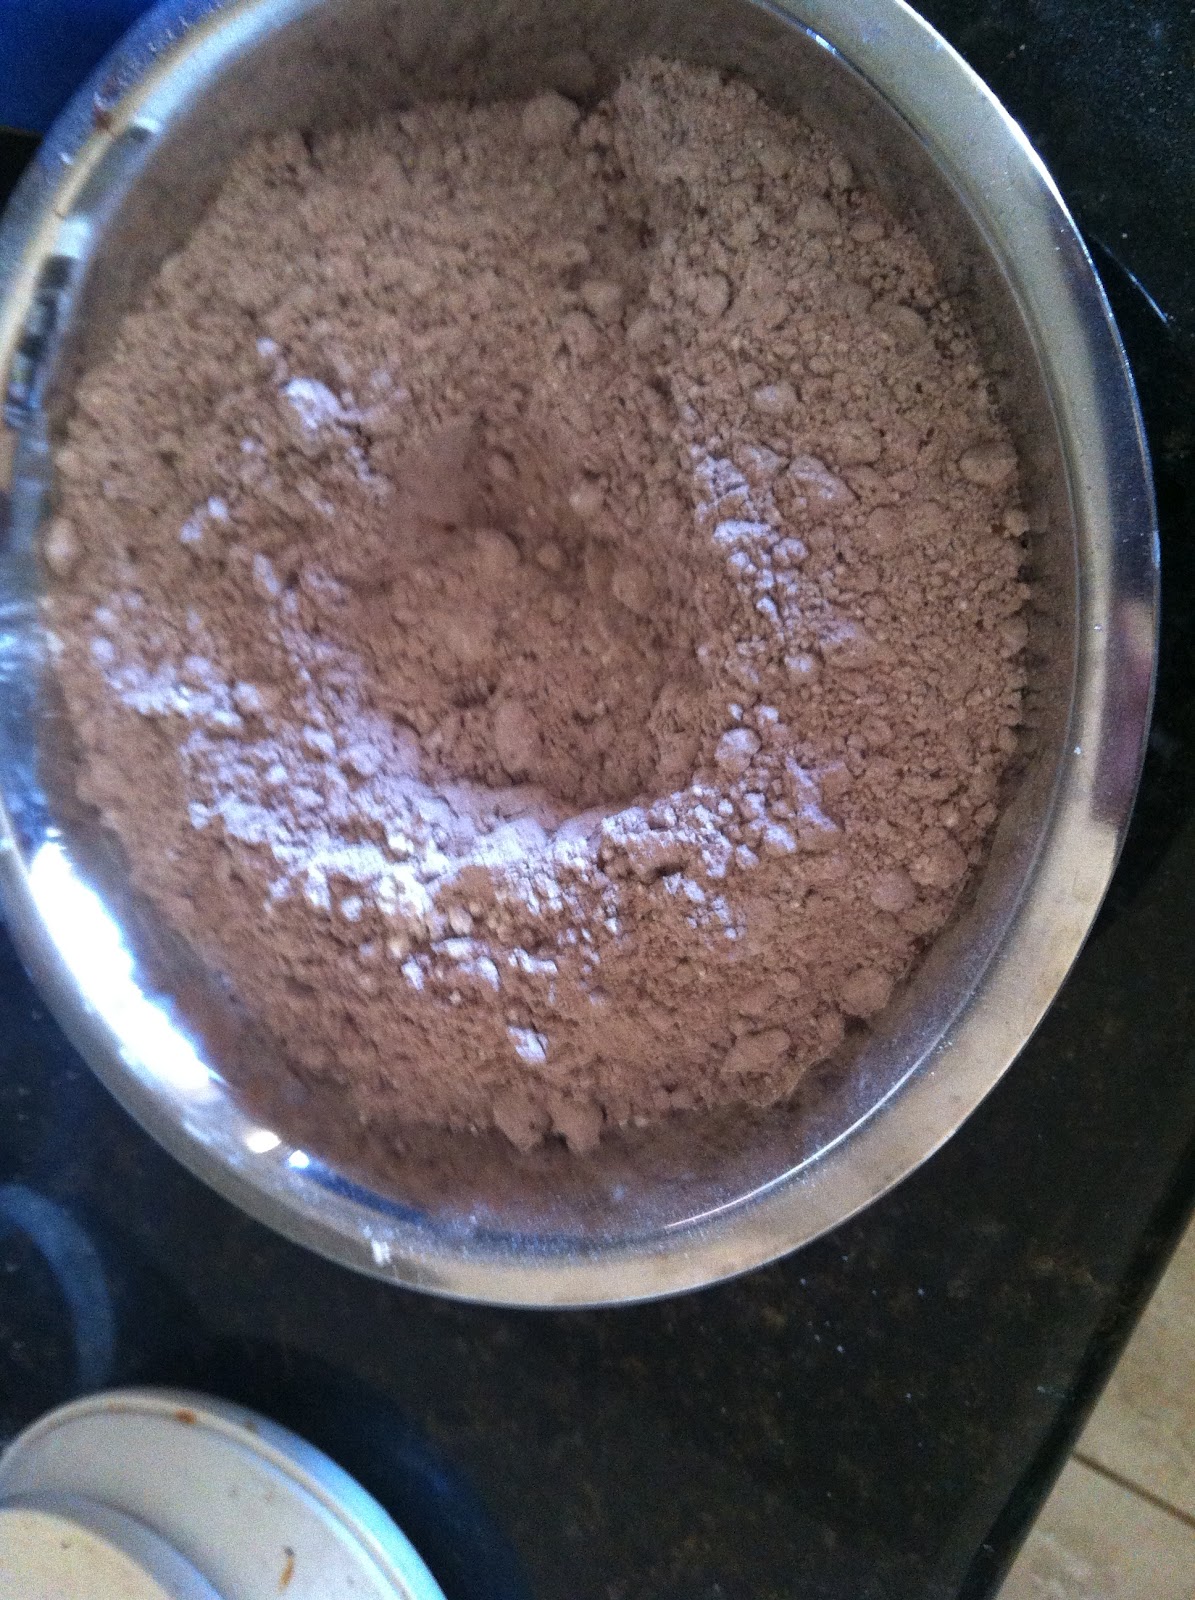
Next step is to measure out all the dry (flour, sugar, pecans, dutch processed cocoa, & salt) ingredients and mix them together.  The recipe says to use a medium size bowl.


This is the bowl I used (weighed everything, more accurate and faster).  I thought it would be plenty big but look at this!


It took a lot of slow, folding to get this all mixed up and not all over the counter. 


I didn't do too bad.  Next step is to cream the wet ingredients.  I decided to use my stand mixer.  I sure hoped it would be big enough to count as a large bowl.


The sugars (granulated & brown... the powdered sugar went with the dry ingredients), butter & vanilla all went into the mixer bowl.


I beat those ingredients for about 3 minutes until it was light and fluffy.


Next step, beat in each egg, one at a time.  The eggs were supposed to be at room temperature.  Mine had been sitting out for about an hour but they were still a bit cold...


Next I added in the melted bitter sweet chocolate


and mixed it until it was "incorporated"


Finally I added in the flour mix. 


I was supposed to add it while the mixer was on low.  But with the beater in the bowl I couldn't get the flour without spilling a ton.  So I just added some, mixed and added some more and mixed until it was all blended in. 

Now I was ready to load up the pan.


Looks pretty good, right?  But the recipe said I had to clean up any spills around the edges.  I didn't know if that was so it would come out easier or what but I'm ever obeidient...


After 45 minutes in a 350 degree oven it looked done...


At least it had pulled away from the edge like it was supposed to


But it wasn't "springy when pressed with a finger".  It was more brittle...  I figured good enough. 

After 10 minutes of sitting in the pan I put a wire rack on top and flipped it over.  At first I was worried it wasn't going to work.  I couldn't get ahold of the pan with pot holders on my hands.  I finally took them off and used my fingernails to get ahold of the edges, while not burning myself.  I wasn't sure that would work because I had very little leverage but


Success!!!  Or I thought so, but as I took the above picture I noticed something


Structural failure! 

I was most worried that all the good stuff would leak out.  But after a bit the flow stopped... mostly.


I let it sit for about an hour and a half before I got started on the glaze. 


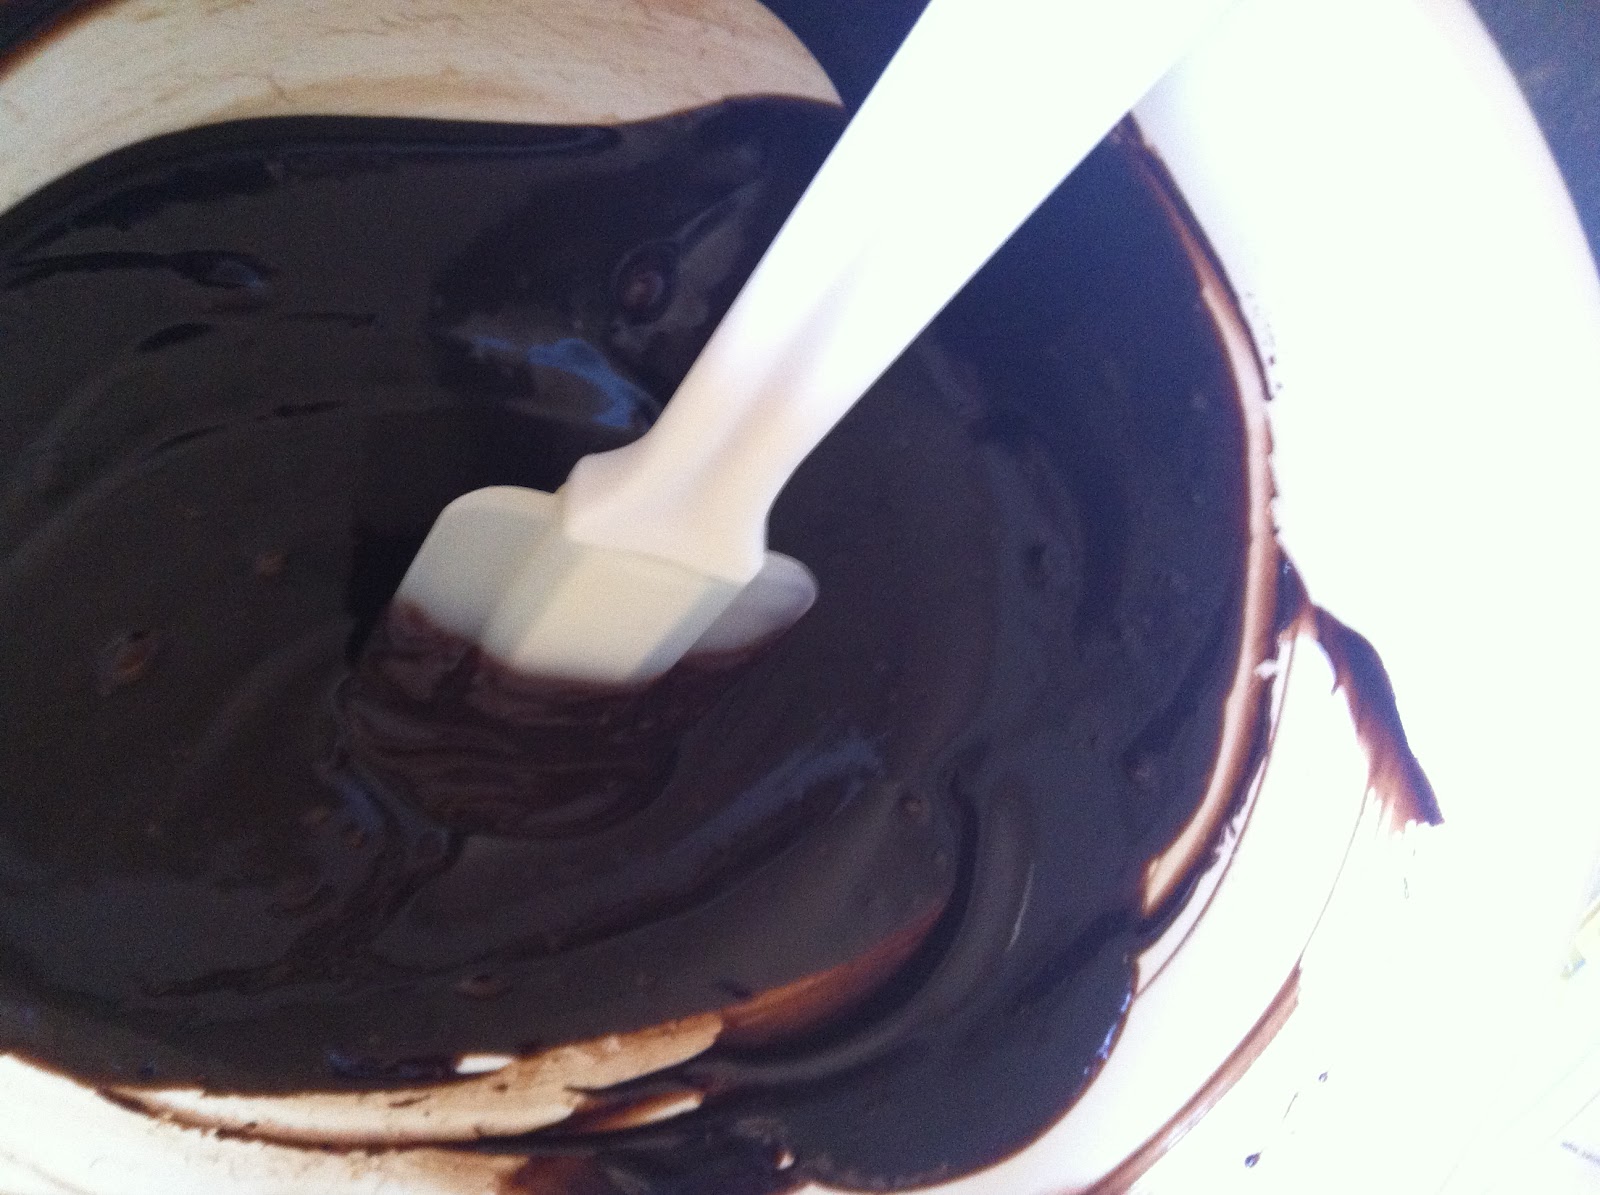
It was made up of "bittersweet" chocolate (in my case semi-sweet), hot cream, corn syrup, vanilla and salt. 


I let the glaze cool for 25 minutes while the cake finished cooling off before I dumped it on. 


After I had dumped it on I realized I had a huge puddle of glaze in the center. 


So I scoped most of it out and let it drizzle down the outside. 


It was a little messy but after one swipe of the glaze I decided not to worry about it. 

The cake looked just like it was supposed to


I cut myself a piece


It was super yummy but if I made it again I'd leave out the pecans.  I think they detract from the yummy/smooth chocolate flavor.  I'm actually glad I used semi-sweet instead of bitter-sweet.  It was very flavorful and the right level of sweetness for me.  Not too rich and I think the bittersweet wouldn't be as smooth tasting.  Jonathan won't even taste it because of the nuts...  He's missing out!

The full recipe is below. 

TUNNEL OF FUDGE CAKE

SERVES 12
For an accurate measurement of boiling water, bring a full kettle of water to a boil, then measure out the desired amount.  It’s no use to use a cake tester, toothpick, or skewer when testing this cake for doneness because the fudgy interior will look just like undercooked cake batter; when the cake is done, the sides will begin to pull away from the pan and the top will feel springy when pressed with a finger. 
½ cup boiling water (see note above)
2 ounces bittersweet chocolate, chopped
2 cups (10 ounces) all-purpose flour
2 cups (8 ounces) pecans or walnuts, chopped fine
2 cups (8 ounces) confectioners’ sugar
¾ cup (2 ¼ ounces) Dutch-processed cocoa powder
1 teaspoon salt
2 ½ sticks unsalted butter, cut into chunks and softened
1 cup (7 ounces) granulated sugar
¾ cup packed (5 ¼ ounces) light brown sugar
1 tablespoon vanilla extract
5 large eggs, room temperature
1 recipe Chocolate Glaze (see end of recipe)

1.      Adjust an oven rack to the lower-middle position and heat the oven to 350 degrees.  Prepare a 12-cup Bundt pan following the photo on page 259 (brush with a paste of 1 Tbsp melted butter and 1 Tbsp cocoa).
2.      Whisk the boiling water and chocolate together in a small bowl until melted and smooth; let the mixture cool slightly.  In a medium bowl, whisk the flour, nuts, confectioners’ sugar, cocoa, and salt together.
3.      In a large bowl, beat the butter, granulated sugar, brown sugar, and vanilla together with an electric mixer on medium speed until light and fluffy, 3 to 6 minutes.  Beat in the eggs, one at a time, until combined, about 1 minute.  Beat in the chocolate mixture until combined, about 30 seconds.  Reduce the mixer speed to low and slowly beat in the flour mixture until just incorporated, about 30 seconds.
4.      Scrape the batter into the prepared pan and smooth the top.  Wipe any drops of batter off the sides of the pan and gently tap the pan on the counter to settle the batter.  Bake the cake until the edges begin to pull away from the sides of the pan and the top feels springy when pressed with a finger, about 45 minutes.
5.      Let the cake cool in the pan for 10 minutes, then flip it out onto a wire rake.  Let the cake cool completely, about 2 hours.  Drizzle the chocolate glaze over the top and sides of the cake.  Let the glaze set, about 25 minutes, before serving. 

Chocolate Glaze


4 ounces bittersweet chocolate, melted
1/3 cup heavy cream, hot
2 tablespoons light corn syrup
¼ teaspoon vanilla extract
Pinch Salt


Whisk all of the glaze ingredients together in a medium bowl until smooth and let sit until thickened, about 25 minutes.  Pour the glaze over the top of the cake after it has cooked completely, letting the glaze drip down the sides.  Let the glaze set before serving, about 25 minutes.