Tuesday, November 27, 2012

Bake 52 Week 48 Best Buttermilk Biscuits

I was a bit rushed trying to get this dish made.  I was in Utah all weekend and didn't find out what we were making until Saturday, at which point I didn't have time to bake since I was driving all day Sunday.  So Monday night I made this really quickly.  It was actually a pretty easy recipe but I didn't take many pictures until Jonathan came over to help me and he got a couple. 

The dough was really sticky...
So when I dumped the dough on the counter I over did it on the flour.  I didn't want to over work the dough so it wasn't as smooth as I wanted to be.  I don't have biscuit cutters so I used a glass, which worked just fine.
They cooked up pretty well but they were dry.  Probably because I added too much flour when I rolled them out but the flavor was good.

All in all they aren't as good as Chuy's recipe,which is what I usually use when I make biscuits so I think I'll stick with that.  But if you want to try it yourself check out Betsy's blog. 


Wednesday, November 21, 2012

Bake 52 Week 47 Sweet Potato Pie

This week it was pie - sweet potato pie. I've never had sweet potato pie so I don't have anything to compare it to, but as far as pies go it's pretty easy to put together.

The first step was to make the crust. It's a bit time consuming because you have to chill the dough for about an hour and then freeze the crust before you par bake it. I used the traditional single-crust pie dough. I haven't used this recipe before but it followed the same method that the all-butter double-crust pie dough I used for the peach pie we made earlier in the year.

Turned out nice.  I dug the beans out that I used for the peach pie, covered the crust with aluminum foil and filled it with beans.  I cooked it for 30 minutes and got started on the filling.

The first step was to microwave the sweet potatoes, then I scopped the flesh out.  I knew I had more sweet potato than I needed so I didn't work too hard to get all the flesh out.  Then I mashed the butter in with the sweet potatoes.

Then I started mixing up the eggs, sugar, nutmeg and salt.  I left out the bourbon and molasses.  I didn't have either one, don't have any reason to have either on hand so I didn't buy them.

Then I mixed in the vanilla and milk.  Once it was all mixed well I added it to the mashed sweet potatoes.

The crust was still in the oven so I had some time on my hands until the next step.  I measured out the brown sugar (dark) and waited. 

After I sprinkled the brown sugar across the bottom of the warm crust, I dumped in the filling.

What do you think?  Too much sweet potato?  After about 45 minutes in the oven I had a pie!

It flattened out while it cooled.  The edges got a bit dark and there were sections of the filling, right next to the crust that could be considered burnt. 

After letting it sit for 2 hours it was time for a piece!

Like I said to being with... I've never had sweet potato pie so I don't know how this is supposed to take.  The pie was almost savory.  It had the same level of sweetness as the Creme Caramel we maked a couple of weeks ago.  I could also pick up the egg in the flavor.  I really liked the layer of sugar on the bottom, it complimented the rest of the filling really well.  It wasn't what I expected but overall it was good.  It grew on me with each bite! 

If you want to try it check out Talesha's blog for the recipe. 


Sunday, November 18, 2012

World's Best Chocolate Cake

This is my last dessert for the weekend (unless I get too bored in the three hours before bedtime)... chocolate cake with chocolate chips!  The recipe has oatmeal in it.  I wasn't too sure of that but the rest looked so tasty and the recipe said you couldn't taste the oatmeal.  I figured it was worth a try.

The recipe is pretty straight forward...  Cream the butter with the sugars.


Then I added the flour, baking soda, salt and cocoa. 

It didn't look very much like chocolate cake at this point...  But I continued.  I added the quick oats to the boiling water, let it sit for a minute and then mixed them in.

Now it looks chocolately!  I mixed in half a bag of chocolate chips and spread it in the cake pan.  The last step was to top the cake with chocolate chips.

Now into the oven!


Thirty minutes later it's done.  Now the hard part... waiting to frost it. 

After it had sat out for a few hours I got started on the frosting.  This was really easy too.  It starts with milk, butter and sugar. 

Once the butter had melted and I boiled the mixture for 30 seconds I added the marshmallows and chocolate chips and mixed those to melt them.

It didn't look quite chocolately enough so I figured that some of the chocolate hadn't completely melted.  But after stirring for what seemed like a long time I just dumped it out on the cake.

Sure enough there were little chunks left... oh, well.  I let the frosting set up for about five minutes before cutting a piece for me and Jonathan.

Jonathan didn't like it.  He doesn't like marshmallow so he didn't like the frosting and while you couldn't taste the oatmeal it did change the texture a bit.  It gave the cake a bit of a chewy consistency.  The chocolate chips gave the cake little pockets of chocolately goodness. 
I managed to stop after my piece and finishing Jonathan's...  I'd recomend this cake unless you have issues with different consistency.  I loved the flavor, especially the frosting! 

S'mores Bars

My second dish for the weekend was this.  I used my food processor to make the crust.
After about 12 minutes in the oven I had a cooked crust. 

While it cooked I got started on the chocolate layer.  The recipe called for 65% cacoa dark chocolate.  I could only find 60%.

But it was the good stuff.  I melted it on the stove with milk. 

While it cooled I measured out cocoa crispies and marshmallows.

After letting the chocolate sit for about 10 minutes I mixed in the marshmallows and chocoa crispies.  After mixing it, I spread it over the crust and topped it with more marshmallows.

Then it was back in the oven for a quick broil.

I left this in the frig overnight before trying it.  I like the combination of the graham cracker crust, marshmallows and chocolate.  The cocoa crispes give the chocolate layer a bit of a chewy texture.  For me the chocolate was too dark for this recipe.  If I made it again I'd use a pound of semi-sweet chocolate chips instead of the 60% cocoa dark chocolate. 

Unfortunately, this minor flaw didn't stop me from having three pieces today!


Homemade Thin Mints

It was a quiet weekend so I baked a bit...  I started with these because Jonathan LOVES the girl scout thin mint cookies.  Plus they were very easy. 

I melted chocolate chips with a bit of shorting, mixed in some peppermit extract and started dunking Ritz crackers.

About half way through the chocolate got a bit thick so I stuck it back in the microwave for 15 seconds.

All done... and ready to go in the freezer.

After about 30 minutes in the freezer I pulled them out to let Jonathan judge how close they were.

Jonathan liked them but said the mint flavor wasn't quite right.  After I bought the peppermint extract (all Stater Bro's had) I realized that I had mint extract.  Next time I'll have to try that.  The texture was perfect and you couldn't taste the Ritz flavor at all.  Worth a try!

Wednesday, November 14, 2012

Bake 52 Week 46 - Spiced Pumpkin Cheesecake

This week we did cheesecake.  This was an interesting recipe for me.  I ended up getting it started late on Monday so I had to abbreviate the recipe a bit. 

The baking wasn't that complicated.  I made a crust of gramham crackers, melted butter, sugar, ginger, cinnamon and cloves.  Mixed it all up in my food processor and pressed that all into my springform pan and baked it for about 15 minutes. 


While the crust baked and cooled I got started on the filling.  I started by spreading the pumpkin puree on a bunch of paper towels.  This was the weirdest part but I just spread it like frosting and trusted that it would work.

Then I covered it with more paper towels and pressed the pumpkin between the two to stacked of paper towels.  Then I left it like that while I put everything else together. 

I mixed the sugar with all the spices.  That smelled yummy, a lot like my dad's Christmas cookies.  It uses a lot of the same spices.  Plus I loved all the colors.
Then it was just a matter of mixing everything together one thing at a time.  When it was time to add the pumpkin I was surprise by how easy it was to get it off the paper towels.  I essentially just rolled it up...

I almost ran out of room in my bowl  getting everything mixed together and smooth.  I spread butter on the crust which I'd only let cool for about 25 minutes.  Then I dumped the mix in on top of the crust.  That's when I remember I was supposed to wrap the pan in two layers of aluminum foil, put it in a roaster pan (that had a kitchen towel in it), then put the whole contraption in the oven and poured boiling water into the roaster pan.  So elaborate!  I wish they'd explain why all that is required, but as usual I just followed the directions.
I stuck it in the oven for an hour and a half.  When the timer went off I was glad to see that it was higher than 150 - probably meant that it was over cooked but it meant I could go to bed.

The recipe calls for a really elaborate process for cooling the cheese cake.  I just left it out on the stove over night.  Not the right thing to do from a food safety perspective but I figured it wouldn't kill me.  :-)

The next morning I stuck it in the frig and went to work.  After work and dinner I pulled it out to have a piece.  I have to say it tastes exactly like the name, pumpkin, spice and cheesecake.  I really liked the crust.  It was almost like toffee.  It was my favorite part. 

If you like pumpkin and cheese cake I'd recommend this recipe.  It was really pretty easy (a little long) and turned out perfectly even though I didn't bother to do everything for cooling it properly.

If you want to try it check out Amanda's blog for the full recipe. 


Sunday, November 11, 2012

Cake Batter Rice Crispie Treats

I made a mistake and didn't have enough cream cheese to make my bake 52 recipe so I decided to make something else. I let Jonathan pick from three recipes that I knew I had all the ingredients for... it was no surprise to me that he picked Cake Batter Rice Crispie Treats.  He loves cake batter ice cream and I actually saved this recipe because I thought he'd like it.  But I knew I'd have to leave off the white chocolate for there to be any chance of him even trying them. 

They are basically just rice crispie treat with cake mix in them.  At least that's how they ended up because I forgot the vanilla.  Also, I had a pound of marshmallows so I decided to increase the amount of cake mix I used by 50% and use all the marshmallows.  But I didn't change the amount of rice crispies.  I often use a full pound of marshamallows for regular rice crispies because it makes them much chewier and you don't end up breaking a tooth trying to have one a day or so later. 

I measured out the cake batter and it ended up being almost the whole mix so I just used the whole mix.  I also measured out the rice crispies before I got started so I could just dumpt them in as soon as I was ready for them. 

I also like to let the butter melt a bit before I add the marshmallows.  It seems to make the marshmallow mix come out of the pot cleaner.  Once the marshmallows and butter were all melted I dumped in the cake mix.  I mixed it in really well and then...  Well, you may have noticed there are no pictures on this post, so far... That's because...


Yeah... I dropped my phone in the pot while I was trying to take a picture.  After saying a bad word (well, more of a phase) Jonathan said, "what happened?!"  I hesitated for a second before pulling it out with my fingers because I was worried I'd burn myself.  But luckily I didn't.  About the time I got it out Jonathan had made it to the kitchen.  I said, "well take a picture!"  :-) 

After about 10-15 minutes of scraping the marshmallow off with a butter knife, using toothpicks to get the charging port and speakers cleared out and then clorax wipes to get rid of the last of the stickiness, it looked like I'd gotten it all off.  I had turned it off before I even started cleaning, on Jonathan's advise.  So once it was as clean as I thought I could get it I turned it back on. 

Meanwhile I dumped in the rice crispies, mixed and then dumped the whole thing into a 13x9" pan.  The rice crispies do taste like cake batter... I think I would have liked them a lot better with the white chocolate.  Jonathan thought they were okay...  So all in all I probably wouldn't recommend them.  Especially if they are going to cost you a phone!

Luckily my phone wasn't ruined.  The phone itself seems to work just fine.  I was able to charge it with my wall charger, but when I started to write this post I pluged in my phone and... nothing.  The connection doesn't work so my computer doesn't recognize that anything in plugged.  So I couldn't get the few pictures off the phone that I took before I dropped it. 

Oh, well.  Considering how bad it could be this is just an annoyance.  I guess I'll have to figure out when my contract ends so I can get a new one, but I'm sure I've got to wait until at least March since I just got it in March of this year.  I guess there are worst things that can happen then a defected iPhone.

Wednesday, November 7, 2012

Bake 52 Week 45: Red Velvet Layer Cake

It was my week to host and since Jonathan and I both love Red Velvet and I've never made a two layer cake I picked this!

I made the cake on Saturday night and frosted it Sunday morning...

I started by preparing the cake pans...
Earlier I had set out the ingedients that needed to be room temperature.

I used powdered butter milk, so I set out the powder and a cup of water.  Once everything was room temperature I got started.

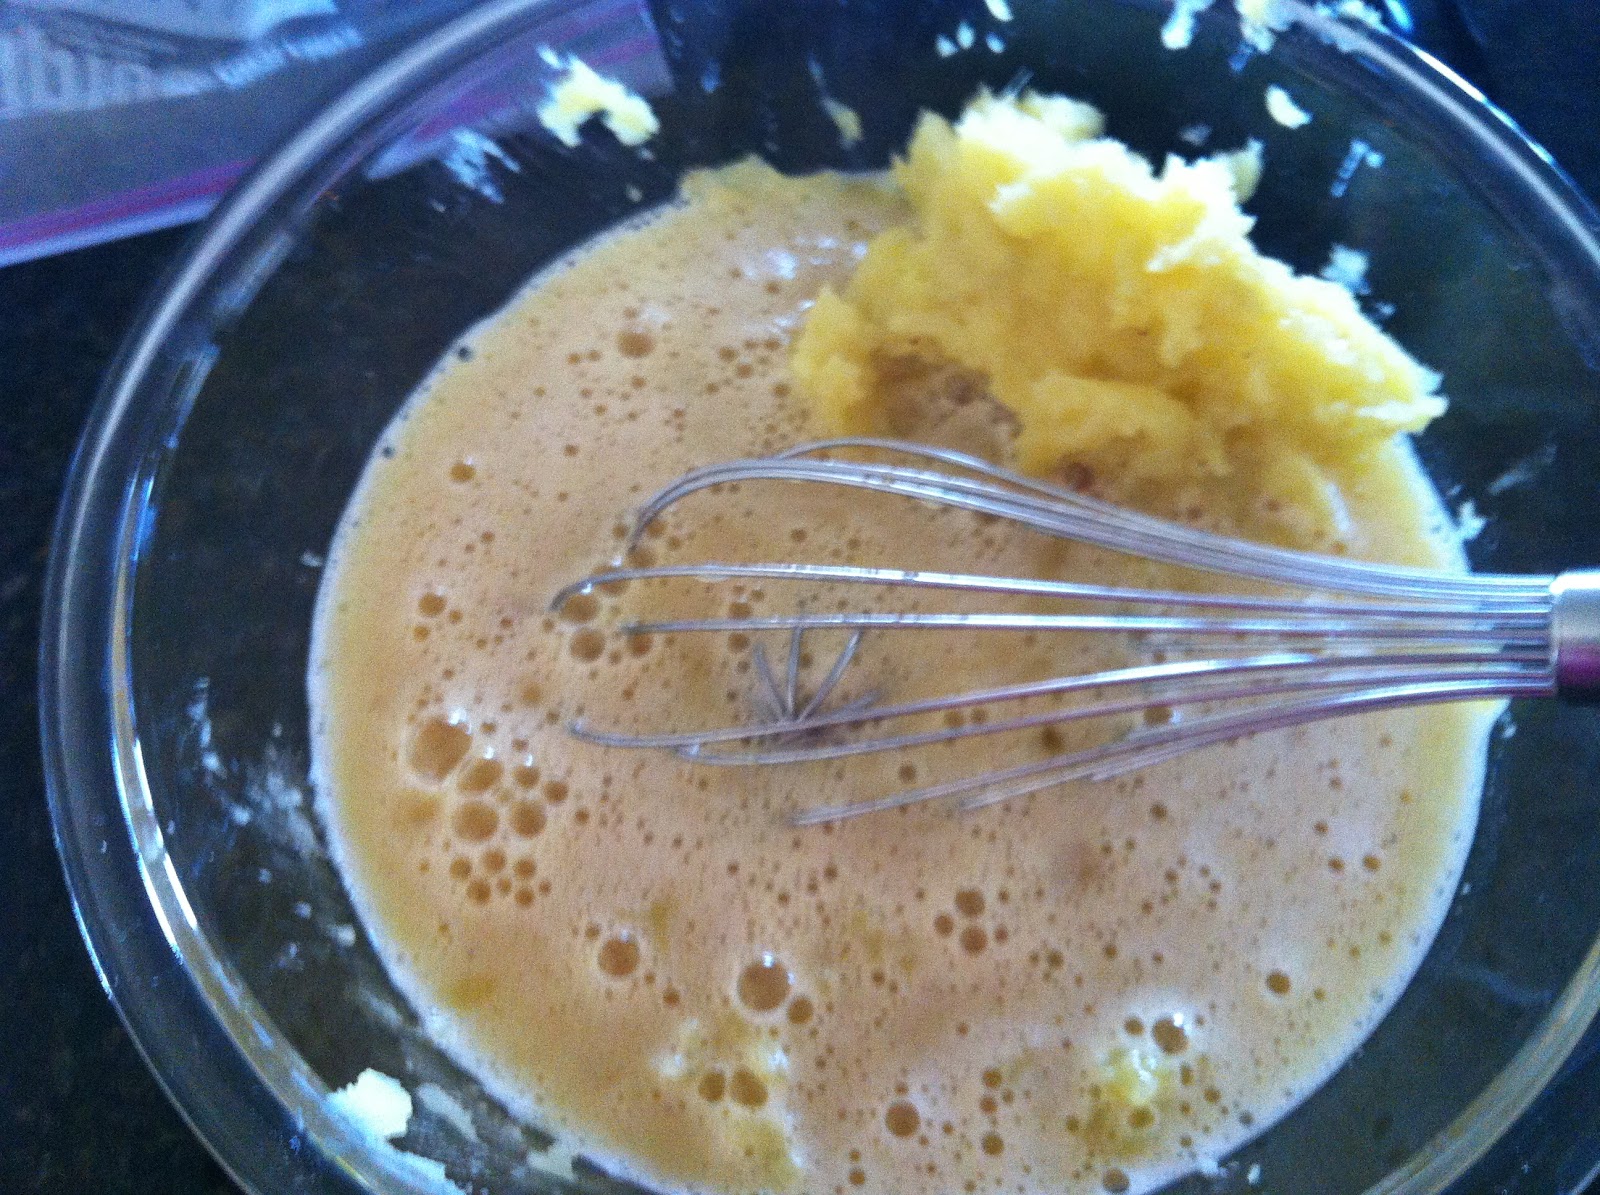
First I blended the dry ingredients, then the wet ingredients and finally the red paste... Look at how dark the cocoa and food coloring look!


Once those bowls were ready I creamed the butter and sugar in my Kitchenaid mixer. 
Next I alternated the flour mix with the liquid mix, ending with the flour.

Finally I added the red paste.

Isn't that pretty?  After mixing it by hand to make sure everything was uniformly red I split the mix between the prepared cake pans.

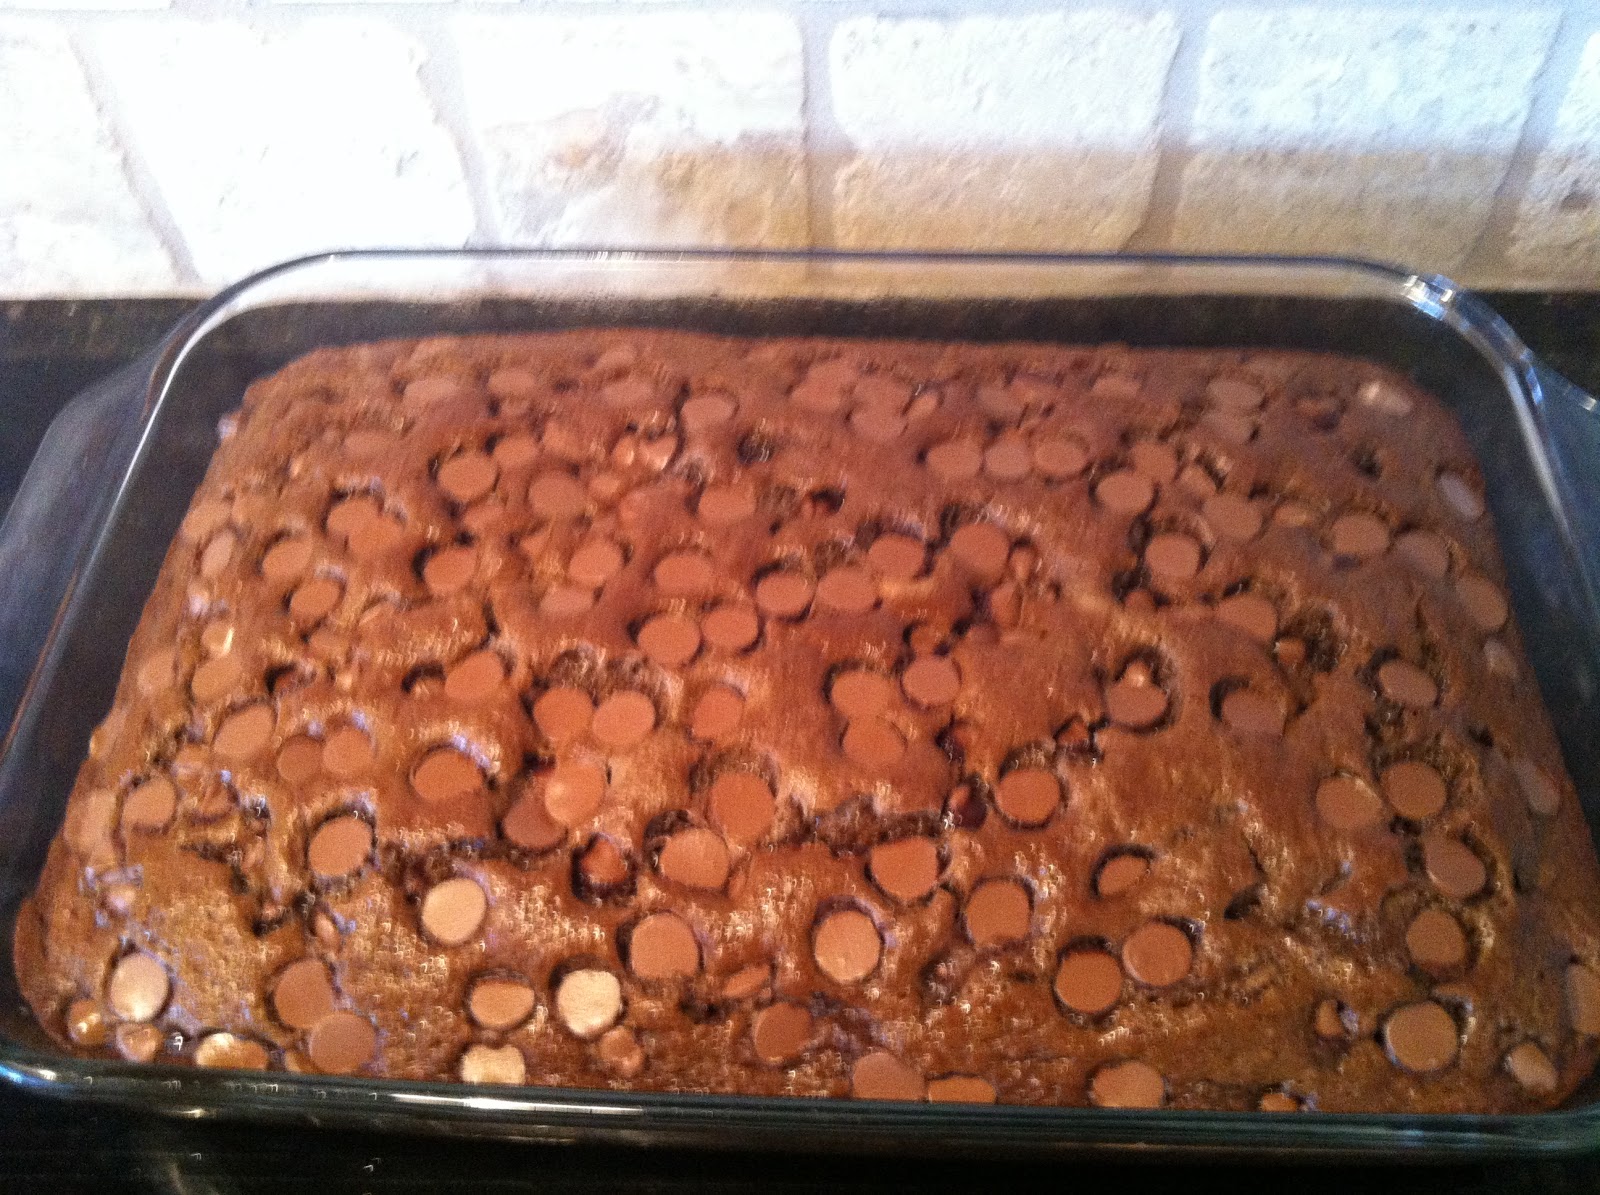
Ready to go in the oven!  After 25 minutes at 350 they were done!

Ten minutes later flipped them out on a cooling rack.  They came right out!

I left them to cool overnight.  I was a little worried about them drying out but I figured the frosting would take care of that...

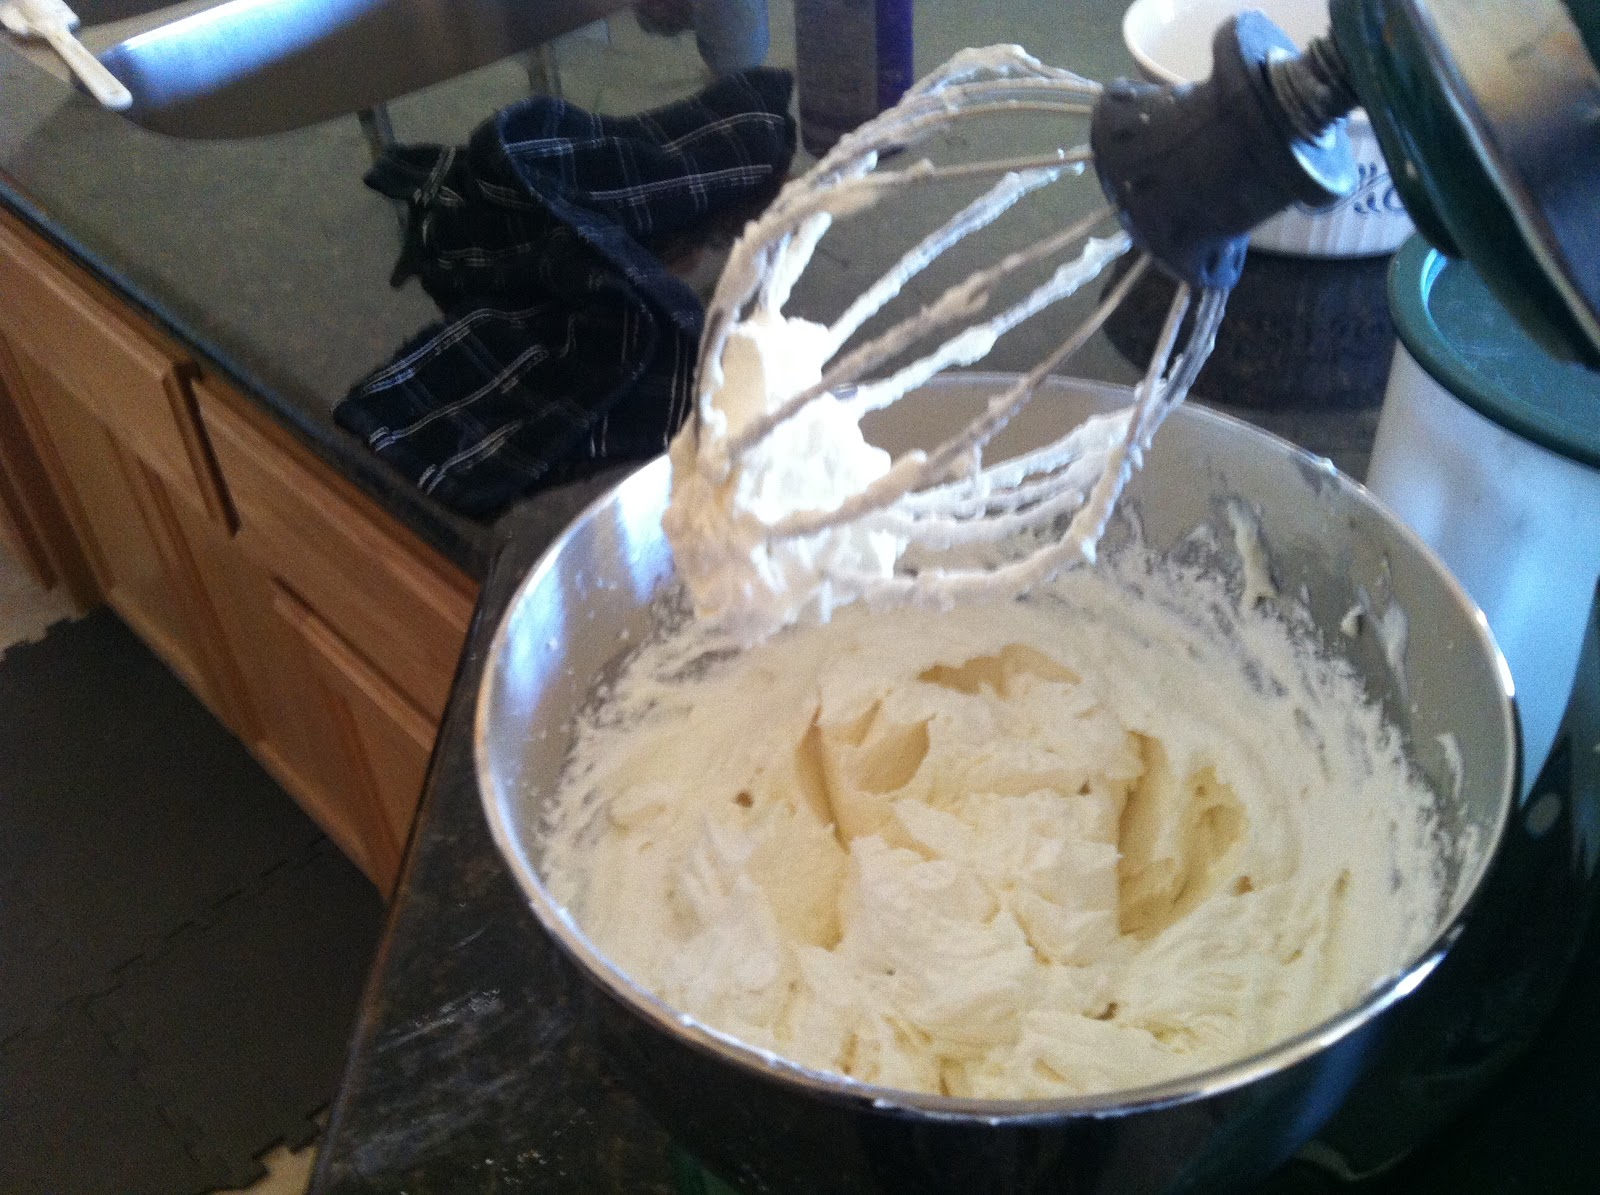
Sunday morning I got the frosting going.  I had left the butter and cream cheese out over night to soften.

Everything except the sugar, ready to mix.

Ready to add the sugar...

Fluffy and ready to go!  I put the cake on some strips of parchment paper.  The strips were so thick I only had to use three!  :-)
I really wanted to get a good distribution of frosting between the layers and on top/outside.  So I tried to make sure I had a full cup of frosting for the top of the bottom cake.  Next time I think I'll target more like a cup and a half because it was a bit skimpy...

After spreading out the first layer I added the second cake and frosted the top of it. 

The final step was to frost the sides...

All done!  I tried to use all four cups of frosting but couldn't quite do it...

Another reason to use more in the middle... 

By the time I was done frosting the cake the frosting was looking a little runny, so I stuck it in the fridge for a bit to set up the frosting. 

A little later we dug in...

This huge piece is one eighth of the cake!  Jonathan and I split it.

Yummy!!  The cream cheese frosting was nice, definitely cream cheese but not over poweringly cream cheese.  The cake was surprisingly chocolately considering it only had 2 tablespoons of cocoa.  I'm tempted to have another piece even though I just finished the first one 30 minutes ago. 

All in all very easy and very tasty... I highly recommend this.

RED VELVET LAYER CAKE
SERVES 8 to 10
For the cake to have the proper rise and color, you must use natural cocoa powder; do not substitute Dutch-processed cocoa.  Although Cream Cheese Frosting is traditional with this cake, Vanilla Frosting and vanilla Buttercream work well too.
CAKE
2       tablespoons natural cocoa powder (see note above), plus more for dusting pans
2 ¼   cups (11 ¼ ounces) all-purpose flour
1 ½   teaspoons baking soda
         Pinch salt
1         cup buttermilk, room temperature
2         large eggs, room temperature
1         tablespoon white vinegar
1         teaspoon vanilla extract
2         tablespoons (1 ounce) red food coloring
12     tablespoons (1 ½ sticks) unsalted butter, cut into 12 pieces and softened
1 ½   cups (10 ½ ounces) sugar


CREAM CHEESE FROSTING (4 CUPS)

2       (8-ounce) packages cream cheese, softened
10     tablespoons (1 ¼ sticks) unsalted butter, cut into chunks and softened
2       tablespoons sour cream
½      teaspoon vanilla extract
¼      teaspoon salt
2       cups (8 ounces) confectioners’ sugar

1.        FOR THE CAKE:  Adjust the oven rack to the middle position and heat the oven to 350 degrees.  Grease two 9-inch cake pans, then dust with cocoa powder and line the bottoms with parchment paper.
2.        Whisk the flour, baking soda, and salt together in a medium bowl.  In another medium bowl, whisk the buttermilk, eggs, vinegar and vanilla together.  In a small bowl, mix 2 tablespoons of the cocoa and red food coloring together to a smooth paste.
3.        In a large bowl, beat the butter and sugar together with an electric mixer on medium-high speed until light and fluffy, 3 to 6 minutes.  Reduce the mixer speed to low and beat in one-third of the flour mixture, followed by half of the buttermilk mixture.  Repeat with half of the remaining flour mixture and the remaining buttermilk mixture.  Beat in the remaining flour mixture until just combined.  Beat in the cocoa mixture until the batter is uniform. 
4.        Give the batter a final stir with a rubber spatula to make sure it is thoroughly combined.  Scrape the batter into the prepared pans, smooth the tops, and gently tap the pans on the counter to settle the batter.  Bake the cakes until a toothpick inserted in the center comes out with a few crumbs attached, about 25 minutes, rotating the pans halfway through baking.
5.        Let the cakes cool in the pans for 10 minutes.  Run a small knife around the edge of the cakes, then flip them out onto a wire rack.  Peel off the parchment paper, flip the cakes right side up, and let cool completely before frosting, about 2 hours. 
6.        FOR THE FROSTING:  Beat the cream cheese, butter, sour cream, vanilla, and salt together in a large bowl with an electric mixer on medium-high speed until smooth, 2 to 4 minutes
7.        Reduce the mixer speed to medium-low, slowly add the confectioners’ sugar, and beat until smooth, 4 to 6 minutes.  Increase the mixer speed to medium-high and beat until the frosting is light and fluffy, 4 to 6 minutes. 
8.        Line the edges of a cake platter with strips of parchment paper to keep the platter clean while you assemble the cake.  Place one of the cake layers on the platter.  Spread 1 cup of the frosting over the top, right to the edge of the cake.  Place the other cake layer on top and press gently to adhere.  Frost the cake with the remaining frosting and remove the parchment strips from the platter before serving.