Wednesday, December 26, 2012

Bake 52 Week 52 - Thick & Chewy Triple Chocolate Cookies

It's our last week of the year and my turn to host.  I thought I'd end the year on a chocolate high and this recipe certainly does that! 

I started out by prepping a couple of pans (in the end I did three pans so I could rotate through and get them all cooked quicker). 
The recipe called for 16 oz of semi-sweet chocolate (melted).  I decided to use a combination of various chocolate I had on hand. 
I used the double boiler method to melt the chocolate. 
It takes longer than the microwave but you don't have to worry about scorching the chocolate. 
All melted now so I set it aside and got to work on the cookies. 
It's a pretty typical cookie recipe.  I started with the dry ingredients. 
After whisking them together I still had lumps of cocoa.  I decided I'd sift it into the wet ingredients.  But next time I make it all just sift them as I dump the ingredients into the bowl. 
Next I whisked the eggs with vanilla.  I left out the coffee.  I don't drink coffee and while I've heard that it enhances the chocolate flavor I don't even like the smell of coffee.  So I'm not going to ruin my chocolate with coffee! 
 Then I dumped the sugars and the butter into my stand mixer. 

I creamed the butter and sugar.  I don't know that it ever got light and fluffy.  But I read once that you really should only beat your butter and sugar to light and fluffy for a cake.  A cookie just doesn't have a the structure to support the air that you whip in, so you cookies just end up flattening out anyway.  So after I read that I just mix my butter and sugars until it is well combined. 
Next I add the eggs and mixed.  Finally the chocolate.  I thought it was interesting how the chocolate all sunk to the bottom of the batter as soon as I added it in.  You can hardly even tell that there was chocolate in it!
After I mixed with my stand mixer for a while I scrapped the bottom with my spatula.  You can see there was quite a bit that didn't get blended in. 
Now it was time for the dry ingredients.  I used my fine sieve to add them to the bowl. 
It made a mess....  Really, next time I'm going to sift first...
Last came the chocolate chips.  
The recipe calls for you to let the dough sit for 30 minutes.  I don't know if it really does what they say but I'm ever obedient to a recipe.  :-)
After 30 minutes I rolled 3 tablespoons (approximately) into balls.  Since I ended up with about 28 cookies and the recipe says you get approximately 30 I figure I was pretty close. 
The dough was still really sticky and messy.  I only got three cookies on a pan - they were big cookies!
Right out of the oven... you really have to let them sit for the 10 minutes or they just fall apart when you try and take them off.  I forgot that step on the last pan until I tried and mangled the first cookie. 
Look at how rich and chocolately these are! 
I really liked these cookies.  I love the chocolate chips with the chocolate cookie, those two textures and flavors of chocolate together are one of my favorite things.  You'll want to have a large glass of milk to wash these down - they are rich.  But for a chocolate lover they really hit the spot! 

THICK AND CHEWY TRIPLE CHOCOLATE COOKIES


MAKES about 30 cookies

You can omit the chips, if desired, which would make these double chocolate cookies.  The dough must sit and thicken before it is rolled into balls, otherwise it will be too soft and will spread too much during baking.  Be sure to let one of the baking sheets cool before baking the second batch of cookies. 

2 cups (10 ounces) all-purpose flour

½ cup (1 ½ ounces) Dutch-processed cocoa powder

2 teaspoons baking powder

¾ teaspoon salt

4 large eggs

2 teaspoons instant coffee (I left this out)

10 tablespoons (1 ¼ sticks) unsalted butter, softened

1 ½ cups packed (10 ½ ounces) light brown sugar

½ cup (3 ½ ounces) granulated sugar

16 ounces semisweet chocolate, melted and cooled

2 cups (12 ounces) semisweet chocolate chips


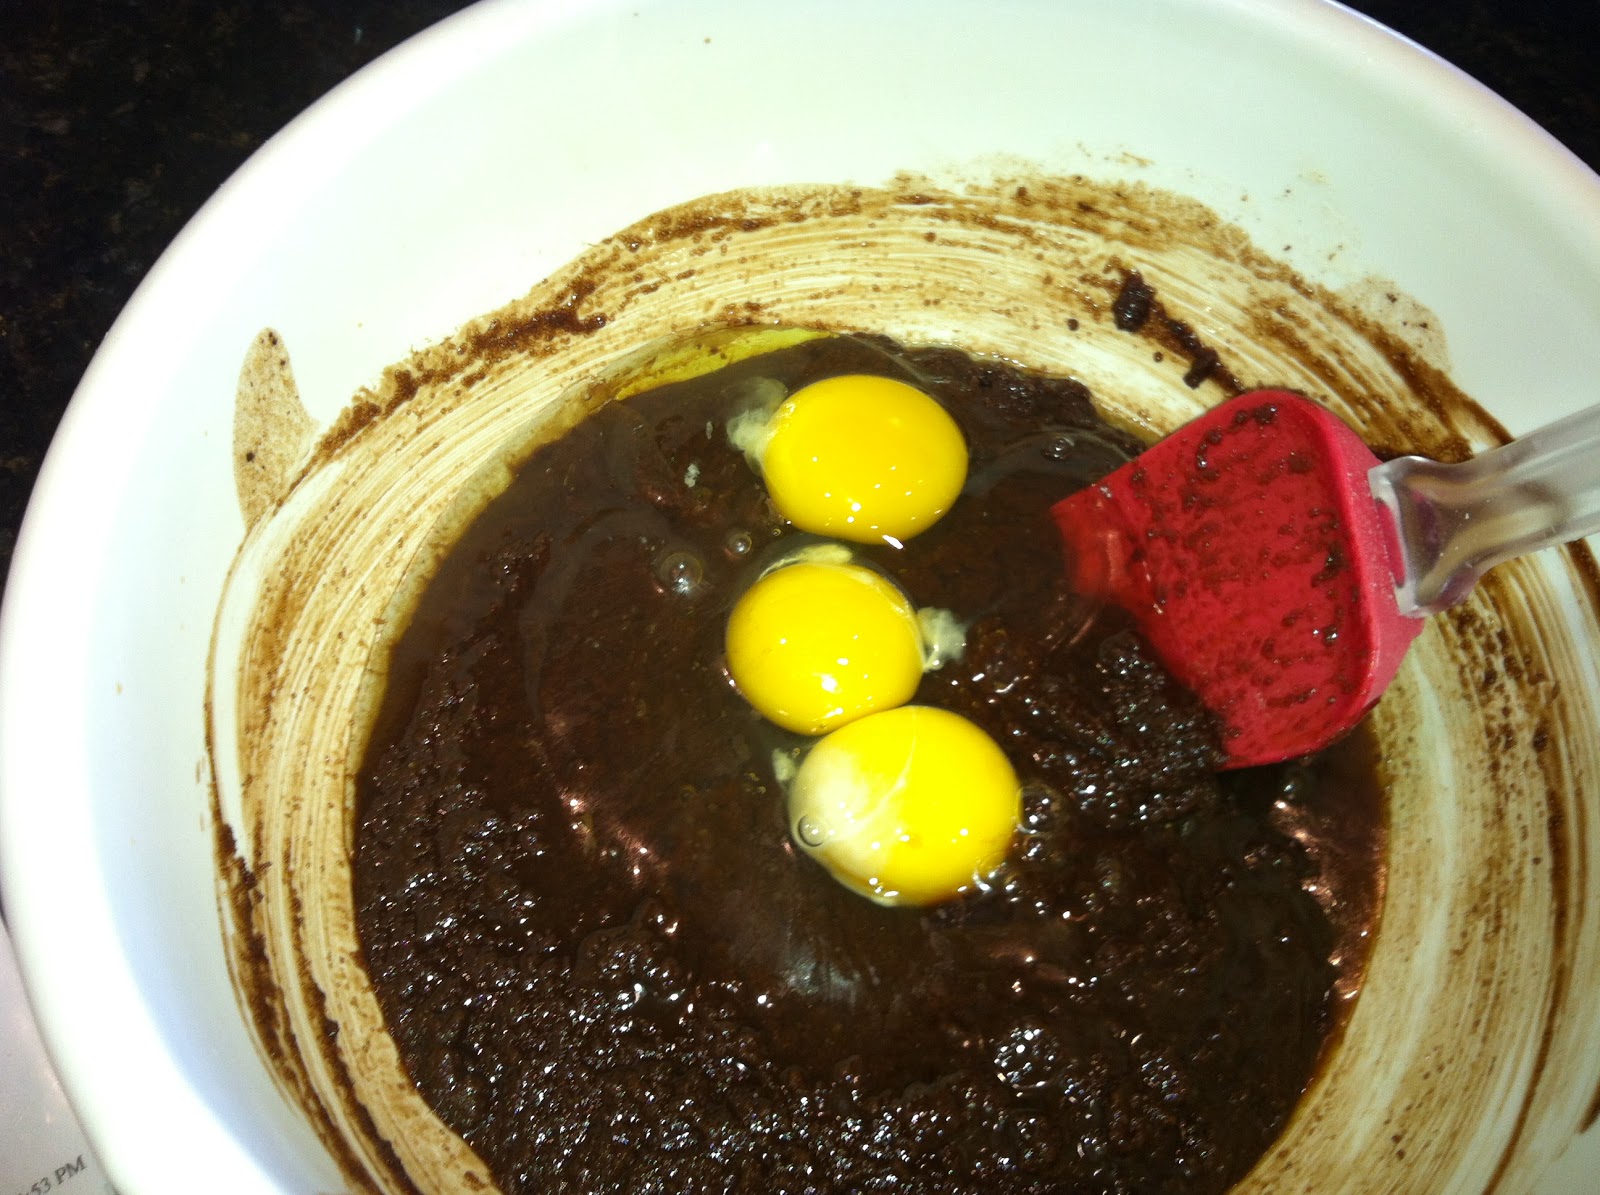
1.      Adjust an oven rack to the upper-middle and lower-middle positions and heat the oven to 350 degrees.  Line 2 large baking sheets with parchment paper.  Whisk the flour, cocoa, baking powder, and salt together in a medium bowl.  In a small bowl, whisk the eggs, vanilla, and instant coffee (I left this out) together until the coffee is dissolved. 

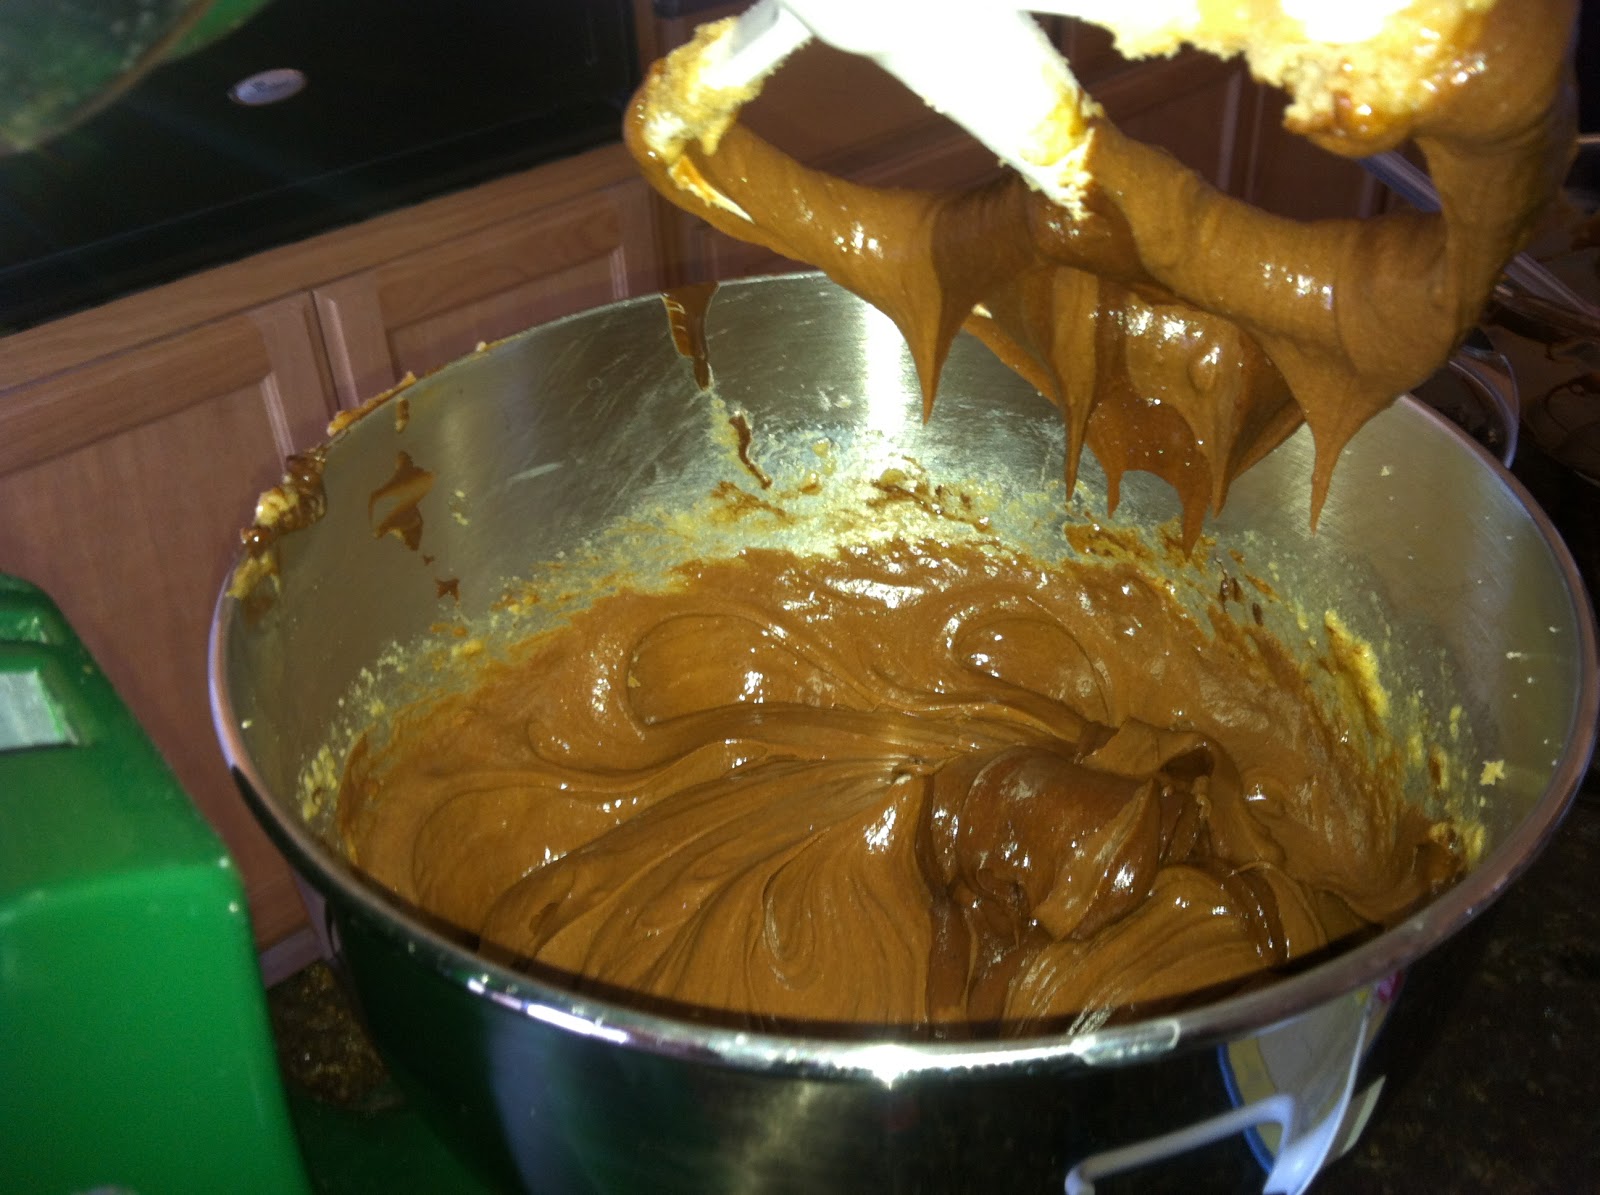
2.      In a large bowl, beat the butter and sugars together with an electric mixer on medium speed until light and fluffy, 3 to 6 minutes, scraping down the bowl and beaters as needed.  Beat in the egg mixture until incorporated, about 30 seconds.  Beat in the melted chocolate, about 30 seconds.

3.      Reduce the mixer speed to low and slowly add the flour mixture until combined, about 30 seconds.  Stir in the chips until incorporated.  Cover the bowl of dough with plastic wrap and let stand at room temperature until the consistency is scoopable fudge-like, about 30 minutes. 

4.      Working with 3 tablespoons of dough at a time, roll the dough into balls and lay them on the prepared baking sheets, spaced about 2 inches apart.  Bake the cookies until the edges are set and beginning to brown but the centers are still soft and puffy, 10 to 12 minutes, switching and rotating the baking sheets halfway through baking.  (The cookies will look raw between the cracks and seem underdone.)

5.      Let the cookies cool on the baking sheet for 10 minutes, then serve warm or transfer to a wire rack and let cool completely.  Repeat with the remaining dough using a cooled, freshly lined baking sheet. 

To Make Ahead


The bowl of cookie dough can be wrapped tightly with plastic wrap and refrigerated for up to 2 days; let soften at room temperature, then portion and bake as directed.  The dough can also be portioned and shaped into balls and frozen; when they are frozen solid, transfer them to a large zipper-lock bag.  To bake, arrange the frozen cookies (do not thaw) on a parchment-lined baking sheet and bake as directed, increasing the baking time to 12 to 17 minutes. 


Wednesday, December 19, 2012

Bake 52 Week 51 - Chocolate Chip Biscotti

It's our penultimate week - wow!  It sure has been fun trying all these different dishes.  I think I'll have to spend some time next year picking up the first half of the year...

 
This week we made Biscotti. The recipe pick was actually Almond Biscotti but when I saw the Chocolate chip option... I knew what I would be making.

It was a pretty straight forward recipe.  I mixed the dry ingredients with a fork and set aside.

Then I beat the butter and sugar together in my stand mixer.  I beat it for over three minutes but it didn't seem to be getting light and fluffy so I just moved on. 
Next I added the eggs and vanilla.  Since I was making chocolate chip I left out the almond extract. 
Once it was all blended I added the dry ingredients.  I blended them in and the final step was to add the chocolate chips (3/4 cup). 
I used mini chocolate chips because I had them and because I thought that they would be better with the biscotti, more evenly distributed and wouldn't lead to the biscotti falling apart at the chips.   
I dumped about half the dough on my prepared pan and tried to shape it into a 13 x 2" loaf.  It was really sticky!  The loaves were exactly even but I figured they were good enough.
I baked them for about 30 minutes.  They looked brown and they were certainly starting to crack on the top so out they came...
After letting the loaves sit for 10 minutes I cut them up. 
Then arranged them on the baking sheet again.  About 7 minutes more baking on each side and they were done. 
I tried one after they had cooled and it was biscotti... crisp, dry, mildly sweet.  Just okay, nothing great...

But the next morning I made myself some hot chocolate.  Biscotti is really designed to be dunked in a hot drink.  They are really just too dry to not have with a drink. 
I dunked a piece in the hot chocolate.   
Now that is the way to eat it!!  It was so yummy all soaked in hot chocolate.  The chocolate chips plus the cookie soaked in hot chocolate was divine!  I ended up having 3 or 4 pieces, it was so good with the hot chocolate.  If you are a hot chocolate drinker and like chocolate I'd really recommend making a batch of these cookies to have with your next cup.  Check out Emily's blog for the full recipe.  


Thursday, December 13, 2012

Slutty Brownies

This dish was a bit over the top, even for me!  You can get the full recipe at Handle the Heat.  But it grew on me by the third piece.  :-) 

I started with the brownies.  It started on the stove top, melting the butter.  Then I took it off the heat and added the rest of the ingredients.

Once it was all mixed and combined I set the brownies aside.
The next step was the chocolate chip cookie dough.  This time I made sure my stand mixer was available.  I didn't want to risk breaking any wooden implements!

First I creamed the butter and sugars together. 
Then I added the eggs, vanilla, mixed.  And finally the dry ingredients. 
The last step was adding in the chocolate chip cookies. 

Now time to assemble.  It was at this point that I realized I only needed half of the cookie dough.  Next time I'll half the recipe.  Now I have extra dough that I need to use...

After I pressed half the cookie dough into an 8x8" pan, I topped it with 16 double stuff Oreos. 
The final step was to spread (it didn't pour - way too thick!) the brownie mix.  Ready to bake!

 
I baked it for about 35 minutes and then stuck it in the freezer to set up.  
When I pulled it out of the freezer for a taste it was still warm in the middle.  That made the brownie really, really rich. 
I had a second (or third - who remembers...) piece later when it was fully chilled and it's much tastier in my mind.  It's still quite the mouthful but a fun indulgence.  

Triple Layer Mint Oreo Brownies

This is another recipe from Averie's blog.  We must have similar tastes because I find myself saving a lot of her recipes.  The first step was to make green, mint flavored marshmallow.

It took some work to get it well mixed.  I really hate how sticky marshmallow fluff is...
Once I had that combined I started on the brownies.  I used the handmade brownie recipe provided rather than a box mix.  It's not much more work and usually much better tasting. 
After melting the butter and chocolate I added the sugar.
Next three eggs and vanilla.
Finally the flour...
The last step was to fold in the hand broken mint Oreo's.  Yummy!
Once that was mixed well I spread it in a 13 x 9" pan and then dumped half of the marshmallow mix in.  It all ended up in a big glop on one side, pretty much.
But I didn't worry about it and just swirled it all in to the brownie mix.  I figured it looked okay...
Then the whole thing went in the oven.  While it cooked I started on the next layer.  First I melted the white chocolate
Then I mixed the white chocolate in with the remaining marshmallow mix.  It really helped pull the marshmallow off the side of the bowl but I ended up with something really clumpy
Meanwhile I made the vanilla frosting.  I'm not sure while I did this in reverse. 
If I had mixed the frosting in with the marshmallow and then the melted chocolate it probably would have worked out better.  As it was I ended up with some pretty clumpy frosting.  Not that it effected the final taste.
Once the brownies were done I stuck them in the freezer to cool them quicker so I could put the frosting on. 
After a bit I pulled them out, spread the frosting all over them and then topped them with the rest of the cookies. 
I put it in the freezer for a bit longer to set the whole thing up.  After a bit I was ready to try a piece.

It was okay warm, but later I had a piece after it had been chilled for a while.  I have to say chilled these are awesome!!  I didn't notice the clumpy frosting, the mint flavor was perfect and the brownie was fudgy, chewy and yummy!  If you like chocolate and mint I'd recomend this.