I picked the Black and White cookies. I can't remember what attracted me to the recipe to be honest. When I read through this weekend before starting it sounded like a frosted sugar cookie. I've never been wowed by sugar cookies but a cookie is a cookie and at least half of it was going to chocolate icing. I figured it had to taste good.
First I gathered all the ingredients for the cookies, the cast of characters:
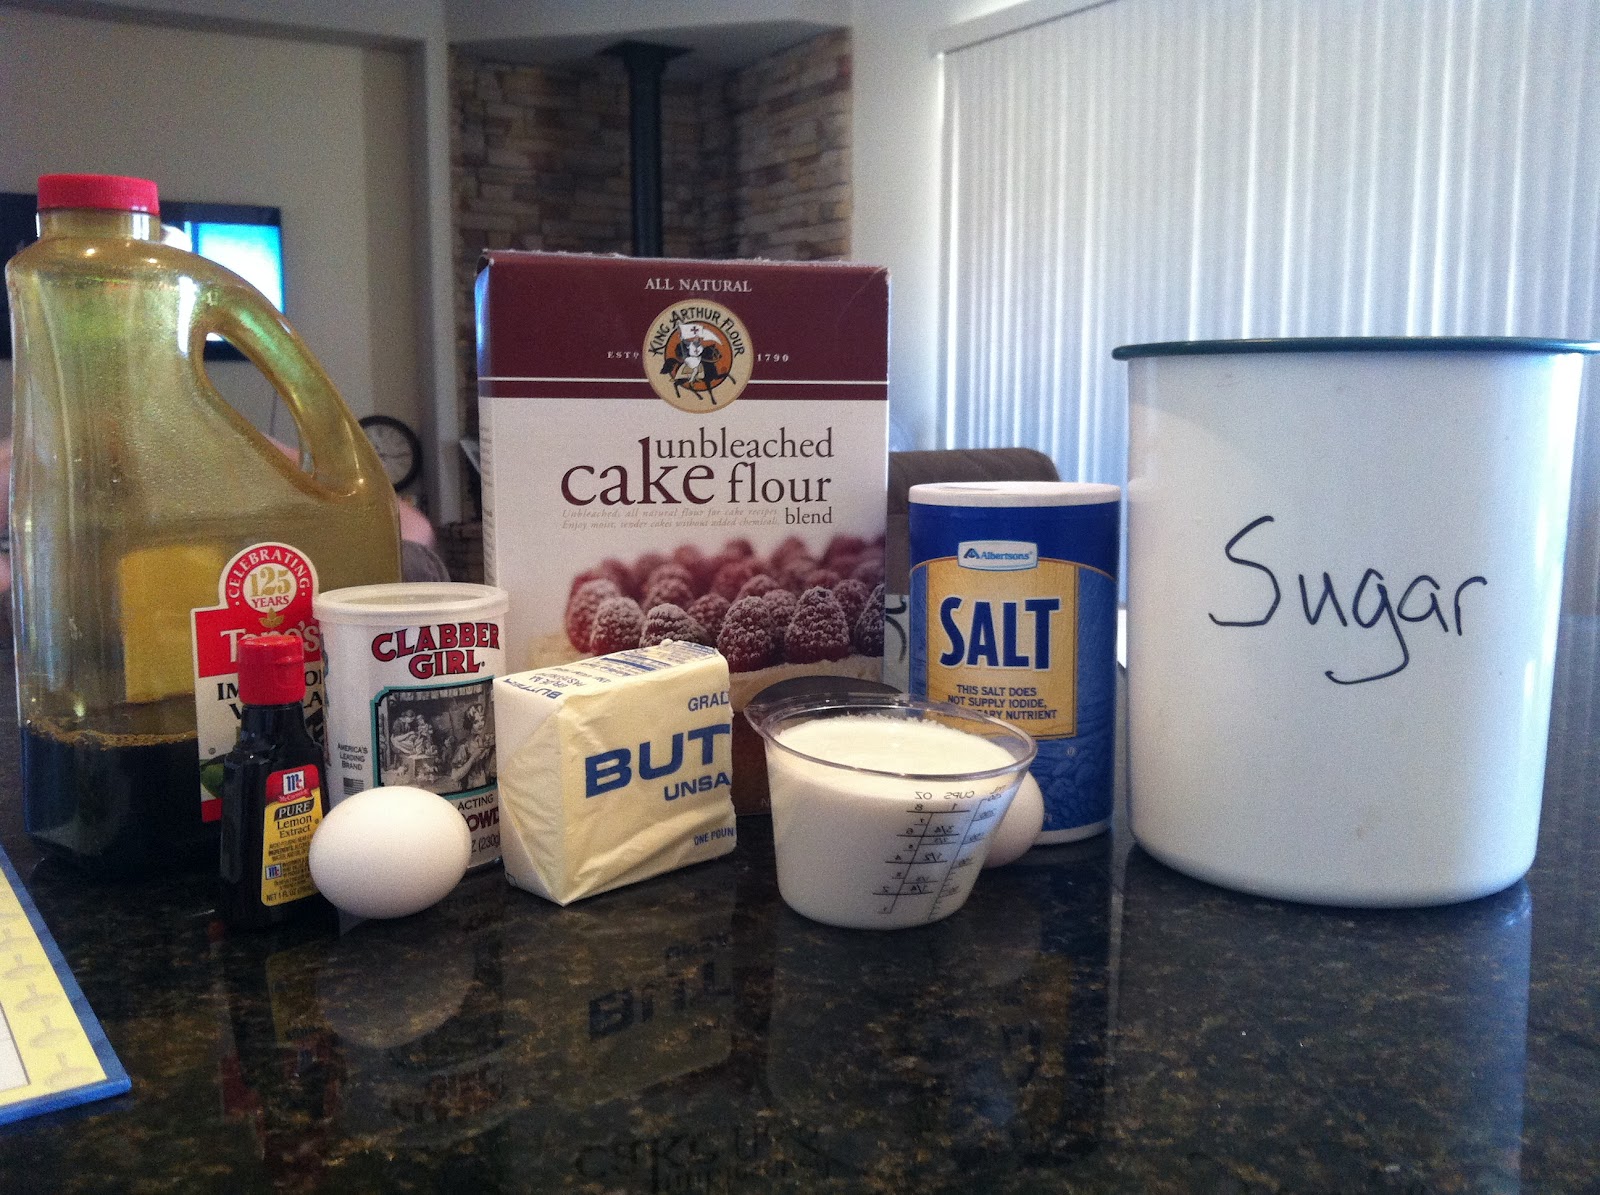
I didn't have any whole milk but I had whipping cream, so I measured out half a cup whipping cream and half cup of 1% milk. Later I saw in the book that you can substitute 2/3 cup 1% milk + 1/3 cup half-and-half for whole milk. I still had time to switch to that but I wasn't sure half-and-half was the same as whipping cream and half a cup is close enough to 1/3 cup that I wasn't going to worry about it.
Next step adjust your oven shelves to the top middle and the bottom middle and set the temperature to 350 degrees.

Next I lined my baking sheets (I used half sheet pans) with parchment paper.

My husband asked why I did that. I have no idea other than the recipe told me to and it makes for easy clean-up. Maybe these cookies are prone to sticking??
Next I weighed out my flour. For me I like weighting powdering ingredients like flour and powdered sugar. It's faster and more accurate.

I added in the baking powder and salt and then stirred the mix with a fork.

Then I moved on to the wet ingredients. To the butter (which I had pulled out of the freezer and softened in the microwave) I added the sugar.

The recipe said to use an electric mixer, so I did but I wish I had got out my kitchenaid mixer. After beating the butter and sugar for about 10 minutes it still looked grainy.


Here's another time I wish I'd used my mixer. By the time I got all the flour and milk in the bowl was really full and I was getting dough all over the place!

The dough was really soft and creamy. Not stiff like cookies I've made in the past. The recipe calls for dipping out 1/4-cup of dough for each cookie.


The cast of characters:


I was right about not spliting the icing very well. I had left over chocolate and ran out of the white icing before I was done with all the cookies.

I fiinished just in time to head to a party. When we got home it was late so I went right to bed. But these cookies visited me in my dreams. As soon as I got up I had to have one.

If you are looking for something relatively simple but classy and very, very tasty you should try this. Here's the full recipe.
BLACK AND WHITE COOKIES
MAKES about 24 large cookies
Don’t substitute “lemon flavor” or lemon oil for the lemon extract. However, in a pinch you can substitute fresh lemon juice. If the chocolate icing cools so that it is no longer spreadable, microwave it for 30 seconds to resoften.
COOKIES
4 cups (16 ounces) cake flour
½ teaspoon baking powder
½ teaspoon salt
16 tablespoons (2 sticks) unsalted butter, softened
1 ¾ cups (12 ¼ ounces) granulated sugar
2 large eggs
1 teaspoon vanilla extract
½ teaspoon lemon extract (see note above)
1 cup whole milk
ICINGS
¼ cup light corn syrup
⅓ cup water
5 cups (20 ounces) confectioners’ sugar
½ teaspoon vanilla extract
2 ounces unsweetened chocolate, melted
2–4 teaspoons water
1. FOR THE COOKIES: Adjust the oven racks to the upper-middle and lower-middle positions and heat the oven to 350 degrees. Line 2 large baking sheets with parchment paper. Whisk the flour, baking powder, and salt together in a medium bowl.
2. In a large bowl, beat the butter and sugar with an electric mixer on medium speed until light and fluffy, 3 to 6 minutes. Beat in the eggs, vanilla, an lemon extract until combined, about 30 seconds, scraping down the bowl and beaters as needed.
3. Reduce the mixer speed to low and beat in one-third of the flour mixture, followed by half of the milk. Repeat with half of the remaining flour mixture, and the remaining milk. Beat in the remaining flour mixture until combined.
4. Scoop ¼-cup mounds of batter onto the prepared baking sheets, spaced about 2 inches apart. Use the back of a spoon or your finger dipped in water to smooth the tops of the cookies. Bake the cookies until the edges are just beginning to turn light golden brown, about 15 minutes, switching and rotating the baking sheets halfway through baking.
5. Let the cookies cool on the baking sheets for 10 minutes, then transfer to a wire rack and let cool completely, about 1 hour. Repeat with the remaining dough using cooled, freshly lined baking sheets.
6. FOR THE ICINGS: Bring the corn syrup and water to a boil in a medium saucepan over medium-high heat. Remove the pan from the heat and whisk in the confectioners’ sugar and vanilla until smooth. Measure half of the icing into a separate bowl and whisk in the melted chocolate and 2 to 4 teaspoons of the water as needed until the mixture is smooth and spreadable.
7. Place 2 large wire racks over parchment paper for easy cleanup. Following the photos, spread about 2 tablespoons of the chocolate icing over half of each cookie with a small spatula, then let sit on the wire racks until the icing has just set, about 15 minutes. Spread the vanilla icing over the other half of each cookie and let sit until the icings have hardened, about 1 hour, before serving.
Check out the links below to see other reviews on this recipe.
...
Yours turned out really nice. Great pick!
ReplyDeleteThanks. They did turn out really well. Jonathan was annoyed with me yesterday when he found out that I'd taken the extras to work rather than freezing them for later consumption. So I think I'm going to have to make these again very soon!
ReplyDeleteYour cookies look great. Glad to have you as part of the group. Great pick.
ReplyDeleteThese were so much fun to make! Great recipe choice :)
ReplyDeleteI'm glad you joined! Thanks for hosting. These are classy cookies, I am glad I made them. I wish I had spent more time working on perfect circles, mine were more oval. Oh, well. Maybe next time! :)
ReplyDeleteI live far away from my family as well. It's sad missing all the family gatherings but we are happy and life takes you different places. I am also glad to fill some of my time with baking as well.
ReplyDelete