This latest baking recipe was very interesting to me. It was a lot of steps, over a long time but in the end it only had 3 ingredients - flour, yeast & salt!
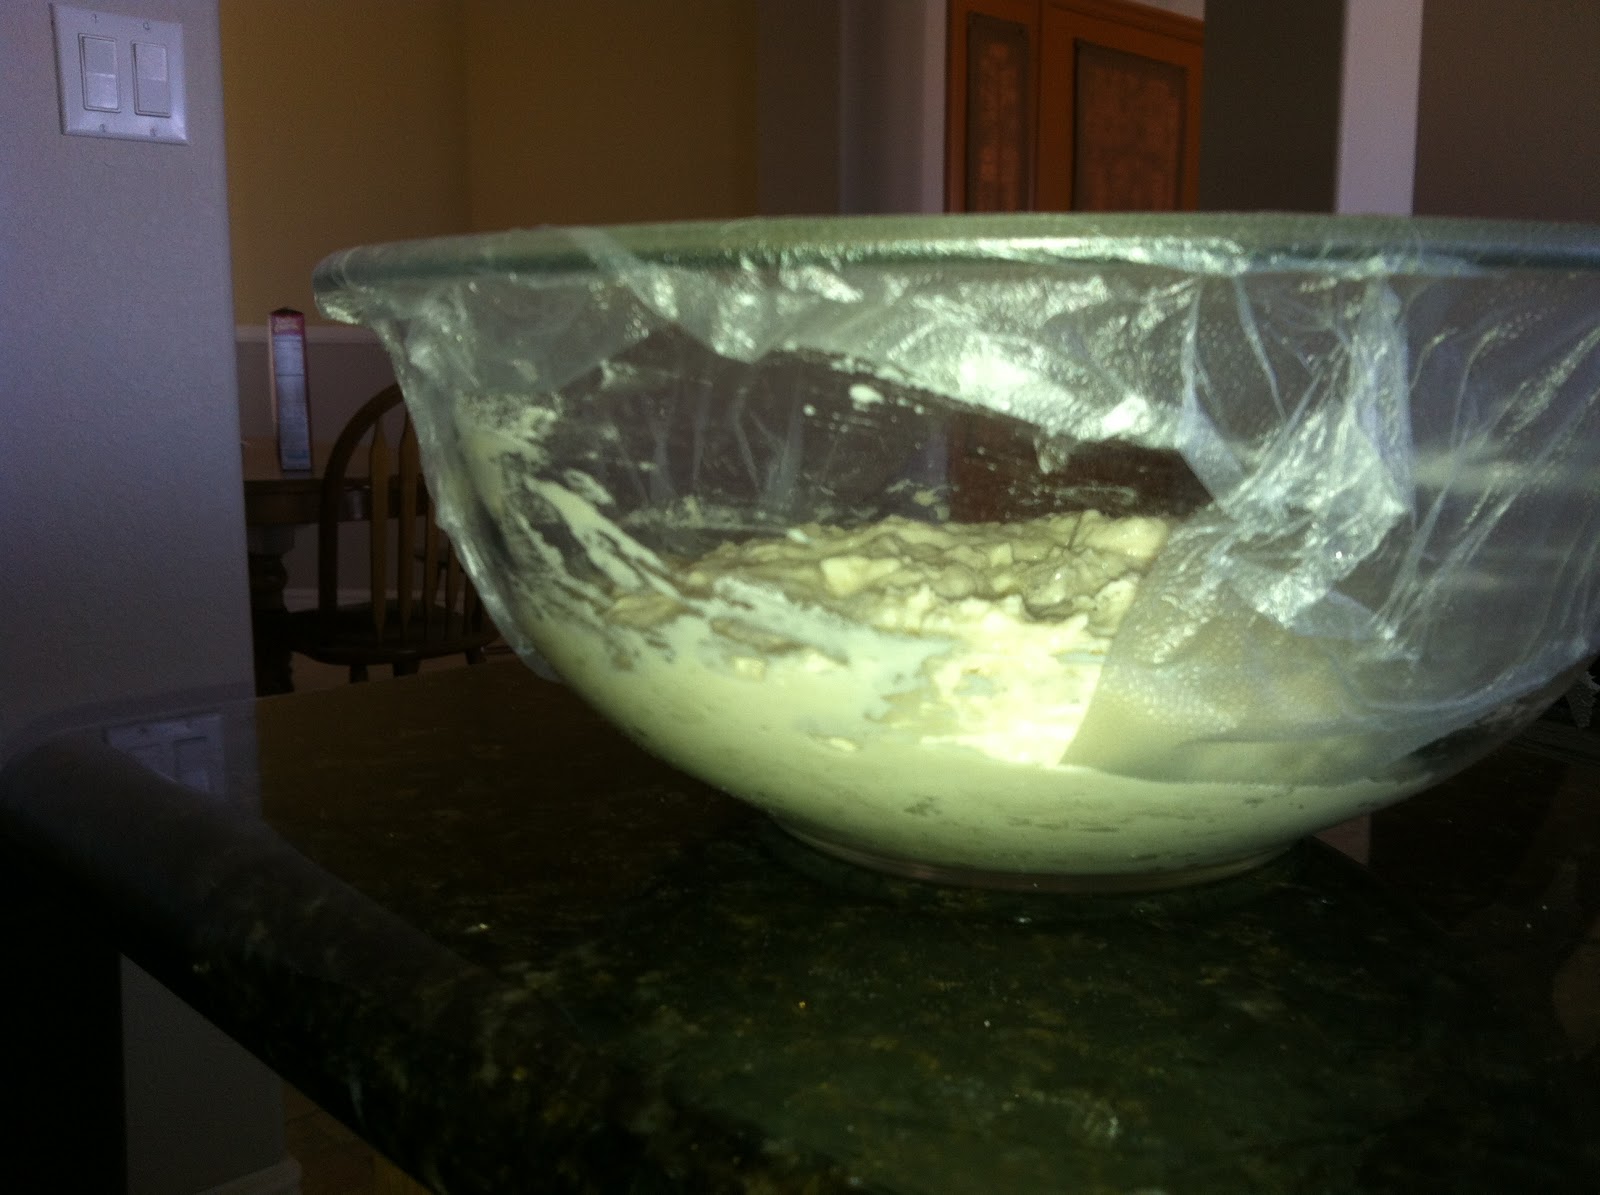
You start out by making a sponge out of flour, yeast & warm water. I did this on Saturday because the sponge has to sit for at least 6 hours and up to 24 hours. I mixed everything together and covered the bowl with plastic wrap and left it.
The next day I could see that it had risen.
But I was never sure if it fell. But after about 22 hours I decided to get the rest of the bread started.
For the dough I mixed flour, yeast, warm water and salt.
I covered the bowl and let it sit for 20 minutes. Then I got ready to add the sponge.
Once I uncovered the bowl I could see that it had fallen. It's hard to tell because the stuff on the sides still is as high as it got but the middle is lower.
Next I mixed 3 - 5 minutes
I ended up with some pretty sticky dough. I scraped the dough into another bowl and covered the bowl with plastic wrap.
I put it in the bathroom to rise. It's the warmest room in the house.
After an hour I sprinkled the dough with flour and "turned" the dough.
I had not idea if I was doing this right. I used a little scraper (that I normally wash dishes with) because my dough scraper is metal. I just kept pulling the edges over until I incorporated the flour.
The cookbook has very detailed instructions for how to "fold" the dough, which I didn't follow but this seemed to have worked out okay.
The bowl was covered again and went back in the bathroom for the second rise. It was supposed to triple in an hour. I think it came pretty close...
Next I got the backing pans ready. I sprinkled dough over the counter and over two inverted baking trays. Once again the recipe had very specific instructions for shaping the dough into loaves. I just sort of manhandled it until I felt like it was good enough.
Now it was time for the 3rd rise! After an hour and a half it was finally ready to go in the oven.
The recipe said to preheat a baking stone in the oven for a half hour, then move the dough onto the stone using the parchment paper. The stone was on the rack on the lowest level of the oven. The recipe said to bake on one side for 20 minutes, then flip and cook another 20. For the first loaf I checked it after about 15 minutes. It looked pretty done so I flipped it. The bottom looked great. After about 10 more minutes I checked it again. It was already burnt!! :-(
So for the second loaf I moved the rack up to the second to the bottom rack level. I cooked the first side for only 10 minutes and then flipped it. I cooked the second side for only 10 more minutes and it was still a bit too dark.
Bummer... I was worried the bread wouldn't even be done on the inside. But it was.
I tossed the first loaf, but the second one was really good. Jonathan thought it still tasted burnt. It didn't to me. Other than the first piece I've eaten the whole second loaf. I keep just having bread for dinner! :-)
While this recipe seemed long, it wasn't particularly difficult difficult, you just ended up tied to the house for 48 hours. If you like bread I would recommend you try this. Just don't put your oven rack on the very bottom position, and check on it after 10 minutes. :-)
Find the complete recipe
here.
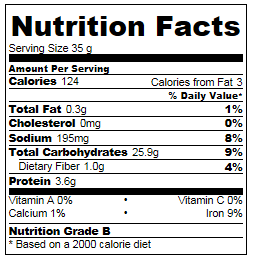
I did the calories based on 12 pieces per loaf.


I have always wanted to try and make this bread. I love to buy it to make sandwiches.
ReplyDeleteYou should try it!! It's not really hard, just long... But it was really, really tasty, totally worth the effort.
Delete